






News
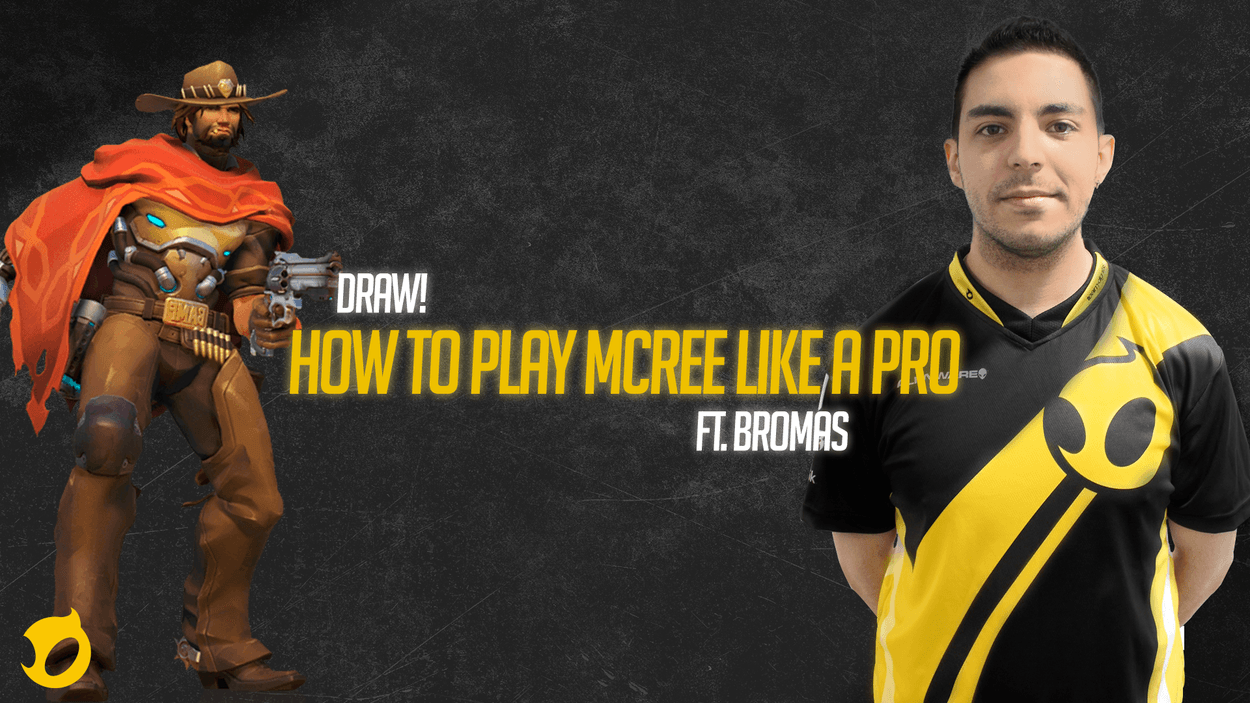
Draw! How to play McCree like a Pro ft. BromaS
This article was written with the help of Team Dignitas DPS player, Jose Antonio 'BromaS' Ramos Gonzales.
McCree is a powerful DPS hero who excels at drumming down targets and responding to flankers. Equipped with his powerful Peacemaker revolver, he’s effective at close and medium ranges, and can take on Offense and Tank heroes alike. This guide will take an advanced look at McCree, detailing gameplay tips and strategies, backed with input from Team Dignitas player BromaS.
McCree is in an unusual position in the current competitive meta. While he’s always been a powerful hero, Soldier: 76 remains the dominant pick, outclassing McCree with Tactical Visor, increased mobility and self-sustain. Regardless, McCree’s high burst potential and anti-flanking capabilities render him a particular threat against heroes such as Pharah and Tracer. With long cooldowns, low mobility and lack of self-healing, McCree leaves little room for error, and leans heavily on frontline tanks to enable him to position effectively. Experienced McCree players shut down flankers with excellent ability usage and reliable accuracy.
Pros & Cons
+ High damage at close-medium range
+ Good against flankers.
+ Reliable, suitable pick in most situations
- Low mobility
- Easily-countered ultimate
- Needs to be paired with a Reinhardt to be effective
- Abilities -
 Peacemaker (Primary Fire)
- Hitscan, low recoil
- 2 rounds per second
- 6 ammo
- 22-70 damage per shot, dropping off at range
While other DPS heroes have projectile or spammy weaponry, every Peacemaker shot counts and you can’t afford to miss too often. Missing consecutive shots will leave opportunities for opponents to retaliate or retreat. While average McCree players will be able to spam at Reinhardt shields and land body shots somewhat regularly, an effective McCree should be able to land frequent headshots and body shots in succession, bursting down targets whenever possible. Line up your shots, and pace your shots as needed.
It’s common for inexperienced McCree players to miss successive shots after missing one of their first shots, spamming fire at the target to compensate for the initial miss, usually to no avail. Take your time to aim each time you fire, and don’t think too much about missing some of your shots, since it’ll happen a lot.
When you’re battling a mobile enemy at a very close range (e.g. a Genji strafing around you), you may wish to weave melee strikes between your shots. A melee strike will sacrifice very little time between each shot, and will apply an easy 30 damage.
 Fan the Hammer (Alternate Fire)
- Hitscan, rapid-fire
- Up to 6 shots fired
- 22-45 damage per shot
- Damage drops with range, each bullet hit
FtH is best used to burn through shields, kill targets with Discord Orb, or chained with Flashbang. Pull your crosshair down to compensate for the mild recoil, focusing fire around the chest/neck area for maximum coverage and headshots.
 Flashbang
- Area-of-Effect stun
- 0.7s stun duration
- 25 damage
Flashbang is your primary tool to help you shred through enemies and shut down flank attempts. Flashbang + Headshot + Bodyshot or Flashbang + FtH will kill a standard 200hp opponent.
If your opponent has closed the gap on you and entered point-blank range, consider throwing Flashbang downwards rather than outwards to land the stun fast and accurately, and it will be harder to evade. In most circumstances, if you miss your Flashbang when being flanked by a Tracer or Genji, you’re as good as dead.
A common technique against Reinhardt is to approach him at close range, and throw Flashbang just above his shield to lower it. To execute this reliably, you’ll want to be standing right in front of Reinhardt while on even ground, and throw the Flashbang over their shield so it detonates near his head. You may find Jump + Flashbang will help you execute this more reliably, and will also land the stun if the Reinhardt is slightly elevated. Genji’s Deflect can be handled like a smaller Reinhardt shield, with a well-placed Flashbang being able to disrupt Deflect. You can also use Flashbang on D.Va’s Self-Destruct, immediately halting its momentum.
Most of the time, you’ll want to follow up a Flashbang with a headshot. However, in situations where your Flashbang target was airborne, headshots are difficult to land due to falling momentum. If you’ve used Flashbang against a wall-riding Lucio or an airborne Genji, Fan the Hammer may be the safer choice. Furthermore, if you’ve caught off an opposing McCree with a Flashbang, immediately follow with FtH to kill them before they have an opportunity to use their Flashbang to retaliate. Zarya’s headshot hitbox behaviour is irregular once hit with Flashbang too, so you may opt to FtH her as well.
 Combat Roll
- Roll 6 meters in current direction
- Reloads Peacemaker
- 0.5 second duration
- 8 second cooldown
Combat Roll is a versatile ability with multiple applications. Use the FtH > Roll > FtH combo to whittle down Reinhardt shields fast and effectively. It can be used defensively or aggressively, either to create distance (eg. to retreat from a diving Winston) or, combined with Flashbang, to make a surprise pick against an out-of-position enemy.
A majority of the time, Combat Roll should be used to reposition once a fight has started or used defensively to evade your opponent’s dives and pushes. It should be used sparingly and as required, since it has a long cooldown and is your only escape tool. You should only use it aggressively in circumstances where you can guarantee a kill, knowing that your team will back you up and you’ll land your shots.
 Deadeye (Ultimate)
- Hitscan, auto-aim
- Marks enemies to be shot
- Channeled up to 6 seconds
- 250 damage channeled per second
Deadeye is a powerful but hard to execute ability and is a little underwhelming in the current meta where heroes who can easily deny a successful Deadeye, like Reinhardt and Ana, are prevalent.
Unlike Soldier: 76 or Genji’s Ultimates, which should be used to maximize damage output during teamfights, Deadeye is best used in conjunction with your allies’ initiation, or when flanking from a surprising angle while your allies maintain pressure. If you try to use Deadeye while your allies are not making a presence, the enemy will easily shut you down or evade you altogether. Chaining Deadeye with a Graviton Surge or Earthshatter are both safe ways to use the ability.
Know that while enemies may be red for being within lethal range, Deadeye’s damage will continue to increase rapidly over the course of a channel. With that being said, long channels have the potential to shatter a Reinhardt’s shield near-instantly, only tanking one or two shots before leaving other targets exposed.
In many situations, Deadeye will serve better as an area-denial tool rather than a means of damage. As you’re pushing a payload around a corner, activating Deadeye from behind your allied Reinhardt’s shield is a means to force enemies to give you space.
Enemy threats that should be kept in consideration when using Deadeye include:
- Ana’s Sleep Dart
- Genji’s Deflect
- Zarya’s Barriers
- Reinhardt’s Shield
- Widowmaker or Hanzo snipes
- Mei’s Ice Wall
Deadeye is best used while key enemy abilities are on cooldown and abilities such as these should be played around for a higher chance at landing a successful Deadeye.
A commonly overlooked facet of Deadeye is that once a target has entered Deadeye’s range, their marks will remain visible, even as they hide behind walls. This information can be beneficial to your team, especially if your opponents opt to hide close together. Deadeye will often cause your opponents to separate or take risky actions, so communicating with your team will enable them to capitalize on your opponent’s evasion efforts.
Note that Deadeye can channel on enemies while they’re invulnerable (Zenyatta’s Transcendence, Reaper’s Wraith Form, etc.), and can kill them when activated the moment their invulnerability expires.
Positioning
High ground will give you a significant advantage, giving you access to clearer sightlines and broad vision for Deadeye. At an elevated position, you’ll be able to control sightlines of enemies at your own discretion by stepping back and forth at the edge of high ground. Seat yourself atop the high ground and chip away at targets safely from above. Be wary that while high ground can provide safety, it can also isolate you if unaccompanied. Keep Combat Roll available and have escape routes thought out in case an enemy Winston decides to drop in. Furthermore, keep in mind that time is a resource, and since McCree’s relatively immobile, give yourself enough time to attain elevation without sacrificing combat time.
While positioning is extremely contextual, you’ll usually want to keep behind your frontline with supports at the ready to keep your health topped up. Position behind your Reinhardt, and be ready to respond to flank attempts on your allied supports.
Keep the opposing team composition in mind. For example, if they’re playing a dive composition (eg. Tracer/Genji/Pharah/Winston), you’ll need to play outside of Winston’s Jump-Pack Range, or else you'll be isolated and killed easily. When the threat of a flanker or diver is present, plot out a means of disengaging within the confines of your team for safety.
Keeping an eye on your opponent's ultimates will increase your potential with McCree, especially with Deadeye’s opportunistic design. Pay attention to opposing threats and the Ultimate charge they’ve likely built (via kill feed, ‘On Fire’ metric). For example, if you’re anticipating an opposing Graviton Charge, create some distance between you and your frontline to lessen the likelihood of being caught within it.
McCree’s cooldowns place limitations on his ability to position aggressively. While Combat Roll and Flashbang are on cooldown, distance yourself and play safely. These utility abilities are McCree’s safety net, and if they’re wasted, you may have to sacrifice some ground.
Improvement
The two most important factors that make a strong McCree player are good positioning and high accuracy. Position according to your cooldowns and your allies' positioning, capitalize on the high ground, and land frequent headshots and you'll be a threatening McCree player.
For starters, find a sensitivity that suits you and get used to it. Having your sensitivity too high may hinder your consistency. For reference, a majority of competitive DPS players have an effective DPI (In-game sensitivity X mouse DPI) between 3000-5000. Hone your skill with your chosen sensitivity and strive for consistency.
When it comes to improving your aim, there aren’t any shortcuts outside of frequent, regular practice. Practice your headshots and aim to reach a point where you feel comfortable with McCree regardless of the situation you’re in.
Take the time to practice your aim before competitive sessions to prepare your reactions, awareness, and accuracy. If you’re unsure of how you should practice, check out our warm-up advice and drills!
Some closing words from BromaS on McCree:
'McCree is … a sexy cowboy. He’s an insane damage dealer if you manage to master him, and he’s a pretty safe pick, no matter the meta. Hitscan will always be good.'
McCree's a powerful DPS hero with high sustained damage and burst potential. Take this advice and improve your skills, and you'll have successful McCree performances. Good luck!