Blogs
Fantastic Mr. Firefox - A Guide to Fox Recovery
Fox’s recovery options are notably long-ranged, giving him the ability to get back to stage from many strong hits. Yet many Foxes find themselves at the mercy of an edgeguard or are gimped at a low percent. Recovering with Fox is an art, easy to learn but hard to master. Navigating back to stage only gets harder and harder as players are constantly developing their edgeguard on Fox. In this piece, I’ll share some tips and tricks to elevate your survivability with Melee’s best.
Understanding the Mixup
When isolated, neither firefox or illusion are very powerful recovery tools. If it could be known that Fox would only firefox to recover, many more edgeguard situations would become easily solved, and vice versa with illusion. The two options strengthen each other, and you should understand this when thinking about how to recover next.
That being said, firefox is simply harder to effectively edgeguard than illusion. Firefox allows ledge sweetspoting from far more positions than illusion. Side b also incurs 20 frames of landing lag, while Fox will enter special fall as soon as Up B finishes which costs only 3 frames of vulnerability on landing. The weakness of firefox is its lengthy startup time, and that is what mixing in illusion is covering. Use the difference in start-up time of the two options to play with the opponents reactions and keep them on their toes.
Choosing the Initial Firefox Position
When discussing Fox recovery, people love to talk about angles. Of course utilizing the many angles of firefox is important, but that’s only half of the story. The spot where the up b input is made is perhaps just as critical to recovery success. For example, when recovering above the ledge, a difference of only a few Y coordinates can define an edgeguard situation. Pictured below is one of the strongest up b positions in Melee, there are countless options for Fox to choose from. Straight in, downward to ledge, and upward angles are all available from this spot. From the upward angles, Fox can also choose between a variety aerial drifts as he falls; creating a very complex edgeguard for the opponent.
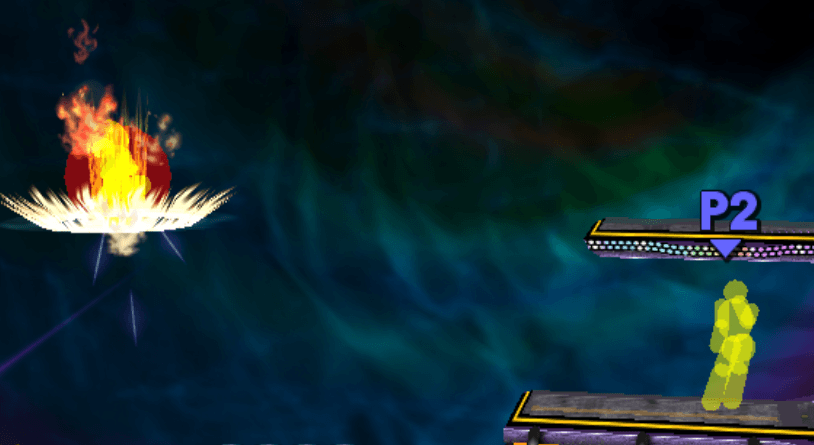
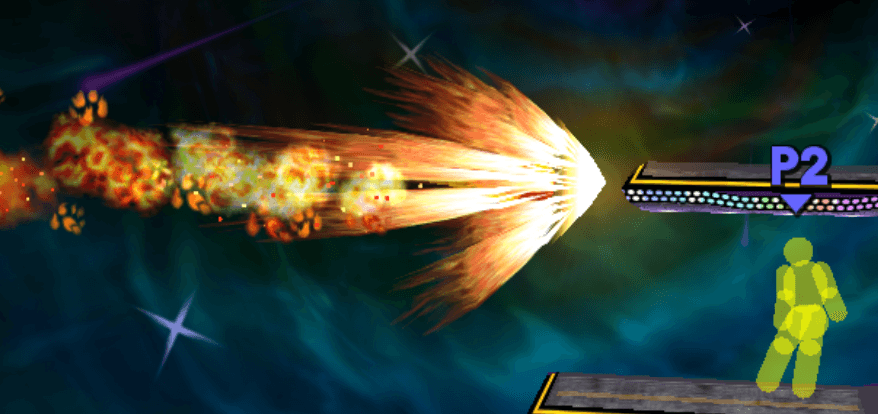
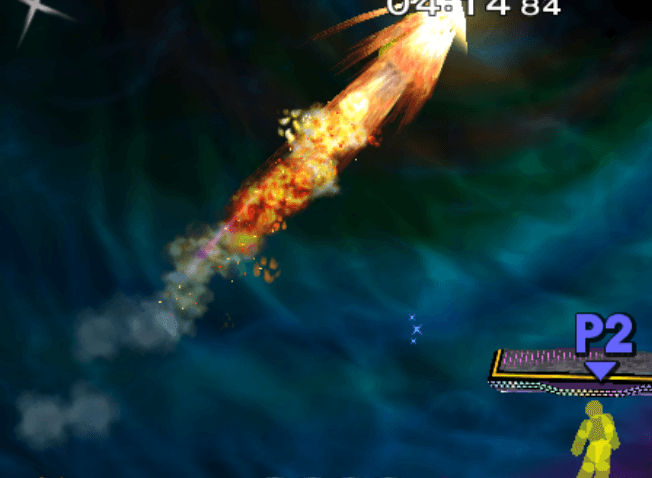
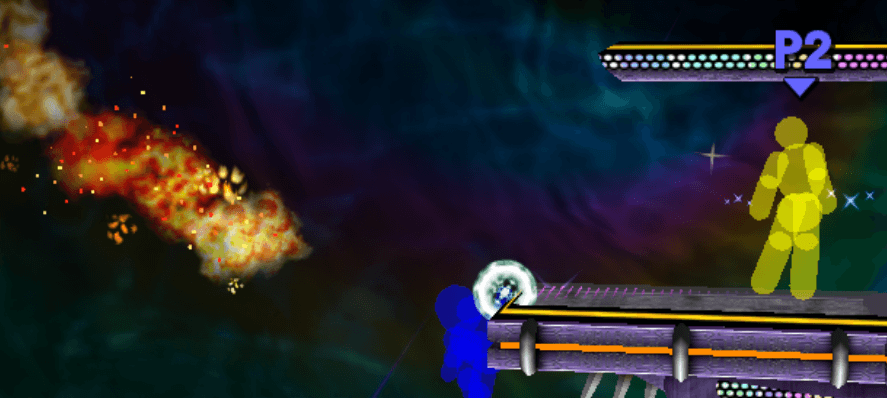
At this position however, the Fox is much easier to kill. Fox is slightly too low to get a downward angle to ledge, and this simplifies the edgeguard significantly. Other than having to cover fewer options, the range of timings to cover is smaller.
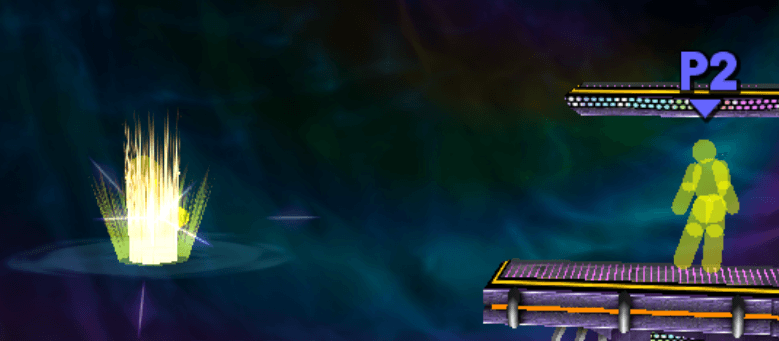
Angling down to grab ledge is a very fast option, and takes much less time than going upwards and falling to ledge/stage. As the range of time between the available options becomes smaller, the easier the edgeguard gets. Marth and Dr. Mario rely heavily on timing mixups like this to survive, and this concept is certainly helpful to Fox as well.
When choosing the position to begin the firefox, don’t just think about what angles you can choose. Think about how many and which moves your opponent has to choose between. The higher number of moves the opponent needs to use to cover all possible options, the higher your chance of survival. When choosing the angle, play with the ranges of the opponent's moves to trick them into using the wrong one.
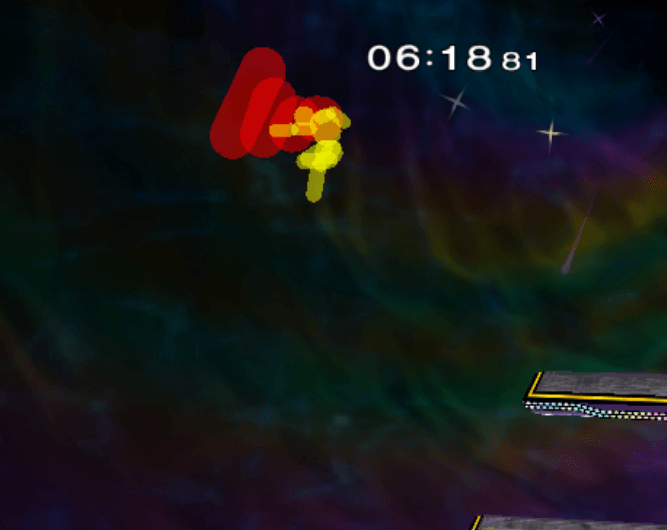
When a Fox begins his up B high, many Marths will reactionarily jump up and forward air to interrupt it. This is because Marth would rather hit the Fox back off-stage than try and follow up after the opponent has gotten to top platform or center stage. Pictured above is the range Marth can cover with a full jump > double jump > forward air. If Fox begins his up b anywhere within or to the right of this range, a good Marth will cover it. Choosing a spot just outside of this range is smart, but an experienced Marth won’t bite at anything too far out. Start firefox at a range where the Marth thinks he can cover with a fair to bait him into giving up his stage position and free up a path back to stage. A minute part of this bait is understanding the difference between tippered and non-tippered forward air. The non-tipper will send fox back off-stage with knockback growth, which is what the Marth wants. A tipper forward air (left-most hitbox pictured) will actually send Fox upwards, which will reward more recovery options than before you even started the up b if Fox doesn't die off the top. Playing with ranges like this is an important aspect of recovery in high level Melee.
Fox and Battlefield
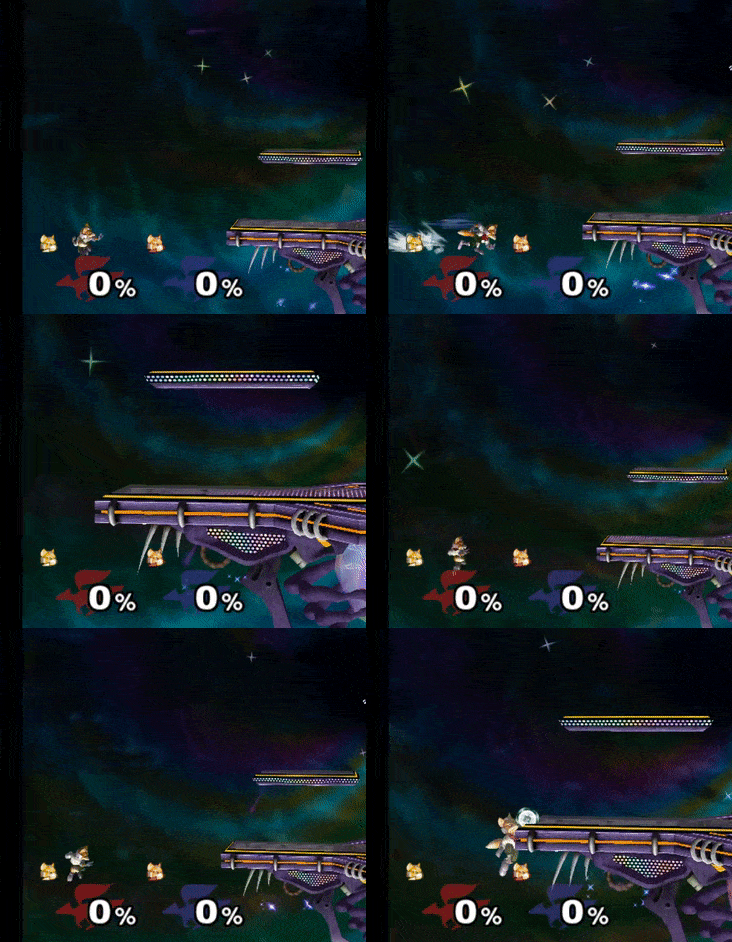
Battlefield is considerably harder to recover on than other stages as the lack of a wall below the ledge cuts off many below-stage firefox angles which would sweetspot on other stages. Sheiks like to take Fox here because of the limits placed on his recovery. Not only firefox is nerfed here, as the unforgiving edge of battlefield will not allow sweet spotting with illusion in most cases. However, if the Fox spaces so the firefox/illusion’s range ends at the battlefield ledge, he will sweet spot every time. Incorporating shortens with this technique will open up more sweet spot opportunities into your battlefield recovery, which are rarely covered.
Considering the Ledge
Your recovery as Fox will only ever be as good as your ledgedash. Winning the mix up to grab ledge means nothing if you can’t get back on stage with it. The ledgedash is far and away Fox’s best option from the ledge. Drill or any other attack from ledge is easily outspaced and punished by every member of the cast and costs a double jump to perform. The normal ledge options like regular getup, roll, tournament winner, and getup attack provide a decent mix up, but leave you vulnerable to an easy punish. These normals get much worse when Fox is over 100% as they slow down and become easier to react to. The ledgedash is the only option from ledge which awards invincible, actionable frames on stage.
When practicing the ledgedash, do not just focus on getting the timing of it down, but also practice getting as many invincibility frames as possible too. Practice starting the ledgedash as soon as you are actionable after grabbing the ledge. Using the 20XX training pack is recommended for this. In the debug menu, turn on a color overlay for the cliffcatch/cliffwait action state to get a visual queue of when you can let go of the edge to start up the ledgedash. If the color overlay for cliffwait can be seen, you could have been faster off the ledge. Every frame the overlay is visible is a frame of invincibility you are losing. Keep in mind that the first frame this is possible is different when catching the ledge with firefox and catching it regularly.

Many players are apprehensive of performing the ledgedash in tournament since missing it often leads to a self-destruct. This fear is somewhat unjustified. If a Fox is over 100% on ledge, every option other than ledgedash is about as bad as an SD. Any alternative will get you killed against a competent player, so the risk of missing the ledgedash is essentially non-existent. You should have no regrets when performing a ledgedash in this situation. Confidently stand by the optimal play, and trust in your practice.
Teching
Like the high percent ledgedash, the wall tech is what I like to categorize as “low risk techskill” as very little is lost from an attempt. The reward of performing the technique is great, and outweighs the risk of missing it. If the opponent attacks you out of a recovery, always try and input a trigger press to tech. Over time this action should become habitual. The window is fairly large, and easy to get a hang of with practice. Also practice utilizing SDI to move Fox into wall tech range.
Effective SDI is half the battle, as you can’t wall tech if Fox is too far away from the wall. Many players run into trouble keeping their survival DI sound after attempting an SDI to wall tech, which stems from continuing to SDI after the knockback begins. Usually the input direction for SDI is not the same as effective survival DI, and will get many novice players killed earlier than necessary. The remedy for this problem is game knowledge. Every move takes a certain amount of time on hit before the knockback will send the target flying. These frames, called hitlag frames, are when SDI can be performed. A knee from Captain Falcon has a ton of hitlag frames, while a jab has very few. Try and catch onto the length of time each move takes before sending you flying, get the SDI inputs in during that time, and then begin survival DI before being knocked back.
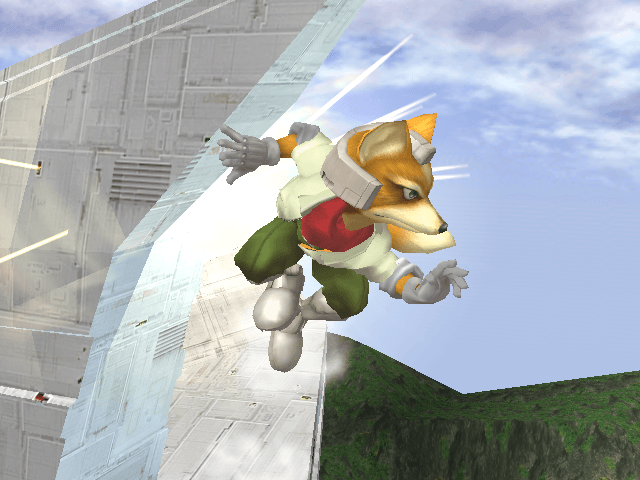
Out of the tech, there are a few options. A simple airdodge on stage will net you a double jump and stage. An instant illusion out of the tech is very hard to cover, and if inputted early enough will get Fox on the ledge. One of Armada’s favorite choices is a back air or shine out of a wall jump tech which hits the opponent away to create a path back onstage. No matter what option you choose afterwards, the wall tech increases survival rate significantly.
Fox’s recovery is one of the strongest in the game, but only if used correctly. Watch the opponent closely and mixup up all of the options Fox has. Choose firefox spots and angles which toe the line of the opponent's ranges. Keep these tips in mind next time you find yourself off-stage and make the opponent work for every stock. Practice those ledgedashes and turn Fox from a glass cannon into a formidable tank.
Like our content? Support us by getting our merchandise in our shop