Blogs
5 Neutral Game Tips for Fox vs. Marth

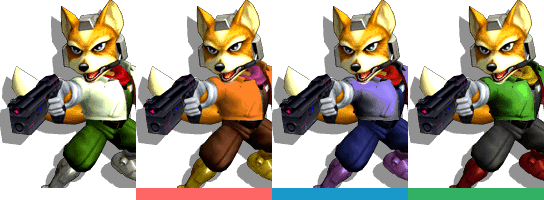

Widely known in the Super Smash Brothers Melee community as one of the more traditional or iconic matchups is Fox vs Marth. Generally seen as “Marth favored” by the majority of SSBM players, Fox has all the tools in his kit to answer and deal with Marth’s options. What Fox players tend to forget is how to use some of Fox’s simple tools in scary situations. There are times when it can feel like there are just no solutions to some of Marth’s options, such as his grab range, movement speed, and overall long reaching moves. However, here are some simple things that Fox can do to deal with some of the scarier moments in the neutral when against Marth, and hopefully these tips can help you improve your game in other aspects as well!
1. Waiting
Most of the time, while this option may not appeal to most players, waiting can actually be an extremely powerful tool against Marth as Fox. While Marth does have a huge reach around his character, there are both pros and cons to Marth’s moves. Marth’s move-set is one of the more unique move-sets in SSBM due to its range and timings. Moves like forward smash, forward air, and down-tilt do have incredible range and utility but none of these are active moves, meaning that their hitboxes are only out for an extremely small (but deadly) duration. As Fox, one thing you can do to deal with some of Marth’s moves is just to wait and react to the opposing Marth’s gameplan.
For an example, if you find yourself stuck in the corner as Fox and Marth is holding center stage, whether Marth is doing a move or using movement to hold the stage just waiting, seeing what decision they’ll make, and reacting to it appropriately is a simple tool that not only Fox, but really any character can utilize. As with most neutral game strategies, there is a good chance that the Marth will see you waiting and use that to their advantage by either directly approaching you with a grab or move or by trying to out-wait you.

2. Running Shines
Both Fox and Marth have a high run speed, meaning that this matchup can be one of the fastest in the game. One common gameplan of any Marth is to force the Fox into approaching them and use Marth’s similar speed to just barely outrun Fox into a pivot grab. When you notice that your approaches just aren’t working, whether they are running/overshooting aerials or other raw options, running shine is a safe ulterior move choice. Pretty much all Foxes have had that moment when they notice that Marth is already moving away from them and their move, and in that instant can feel the regret of committing to a “normal” or “usually safe” option.
Running shine is a great move choice because of how low-commitment it can be. If your techskill is smooth (nothing crazy) enough, then running shine can be used at almost anytime intertwined with just your normal movement. That is how low-committment this move is. Shine itself has a large hitbox, larger than the actual visual of the shine, and you can use this to your advantage. If the Marth tends to shape their gameplan around pivot grabs, running shine can be great at catching/hitting Marth’s grab. If your shine hits, that’s great! You now have any shine follow-up that you normally would. If the shine doesn’t hit, that’s fine too! Usually running shine is safe enough that you can wavedash in a safe direction or continue applying pressure on Marth with other options.
3. Understanding When/How to Shield
Holding shield longer than you need to is never a good thing. Against Marth, since his grab follow-ups are extremely strong against Fox, you never want to be caught in your shield for too long. In order to avoid getting grabbed too much, you need to either move or spotdodge, but this leads to getting hit by his other moves. If you’re feeling like you can never figure out whether you should shield or not against Marth, here are two options you can try to help you deal with this severe 50/50.
First, wavedashing out of shield is extremely important in this matchup. As an option, wavedash out of shield is almost always good in any situation where you need to shield. If you are more of an approaching Fox, or even if the Marth you’re playing against is pretty aggressive, moving in and out of your shield is useful for two reasons:
- Punishing the lag on Marth’s moves. None of Marth’s moves are truly unpunishable and by trying to wavedash out of your shield after blocking a hit you’ll learn fairly quickly which moves you can punish after blocking with your shield.
- Running shield: Try approaching Marth by running, going into shield, and wavedashing out appropriately. Similar to the running shine, by using your wavedashes out of shield, you can maneuver the stage with less fear of Marth’s moves.
Think about how movement can change your situation. Many players, especially pretty early on, know that holding shield is never good. Anyone can react with a grab to seeing that colorful bubble pop up! When you catch yourself using shield and getting grabbed for it and wavedashing out of shield just isn’t the option for you, think about how you can use your movement to position yourself somewhere else on the stage. Some players upon completing a successful recovery tend to do a move into shield or land and hold their shield in fear of getting knocked back off the stage. Instead try and catch yourself in these situations and think about how changing your movement can get you an advantage.
4. Holding Position Using Your Moves
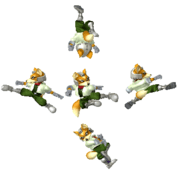
If you’re confident with your tech and are having trouble keeping Marth in the corner or constantly getting grabbed, you can hold your position using a move. This strategy is used when you realize that overshooting your aerials or committing too hard with a move that is placing you out of position isn’t working. You can feel yourself being finessed around the stage and are having a hard time just landing a hit against Marth. These types of counterplay/defensive Marths might have a hard time once you actually are able to get a hold of them. They are using their movement in a defensive way to get out of your threat range and usually follow up with a grab.
One solution is to hold your ground by doing another move after a low-commitment option. Something that players tend to get distracted by is trying to hit their opponent rather than hit the space they will occupy. If you know that Marth is moving around the current move you’re doing (such as an overshooting/non-fade back aerial), you have a couple options to counter his next move. Marths commonly pivot grab or attempt to grab unsafe aerials and you can use this to your advantage. If you do a neutral air and can expect to get grabbed, you can hold your position by shining, turning around and doing an up-tilt, or doing a down-tilt. While pretty much any move can be used directly after doing your neutral air, I find that these three moves are strong choices in this scenario for their combo potential, the space they cover, and how fast they are. By using a strategy like this you can layer a bait, or trap, over your initial neutral air. You know that the neutral air is never really meant to hit in the first place, but you can plan a second move to counter the option Marth chooses. Of course this is just a mix up, but if you notice that your neutral airs are getting grabbed more and more, this should work as a simple bait strategy to counter their counterplay.
5. Lasers
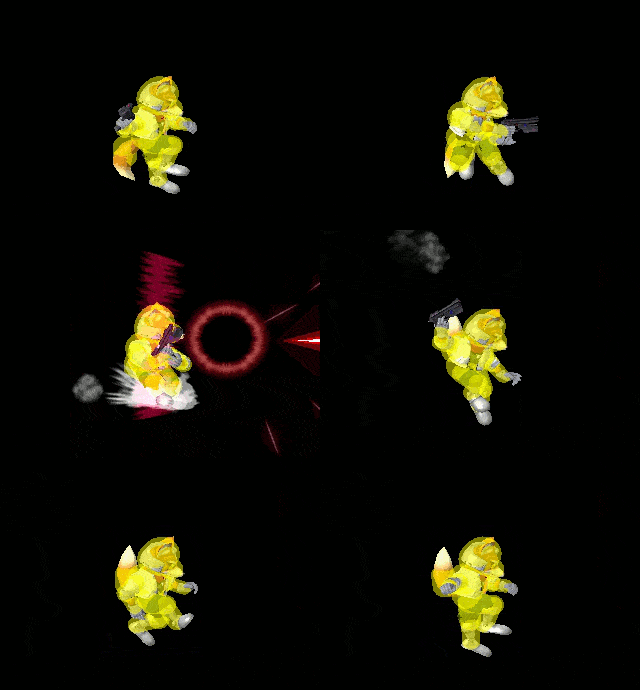
When you ask someone better than you about why you’re struggling with a matchup and how to do better at it, a lot of players will respond with something along the lines of “you should try lasering more.” Fox’s laser is one of his most powerful tools. It is a fast and effective way to layer on damage from a safe distance. While this is the first level of usefulness for Fox’s laser, it also has another slightly hidden use. Since Fox has the potential to run away using his high speed, and his laser has practical limitless range, you can “camp” the opposing Marth. Most of his tools aren’t that great for approaching, and you can abuse this by using your laser and staying away.
A common trap that Fox/Falco/Falcon players get caught in is trying to catch the Marth by chasing and overcommitting too hard. Lasers let Fox slow his gameplan down, force Marth to approach (which causes the Marth a decent amount of stress), do damage, and unstale your moves. If you notice that the Marth is sharking for grabs, try holding your position on the other side of the stage and try shooting some lasers. This should cause one of these things to happen: Marth approaches with a reactable/predictable move that you can counter, Marth approaches and punishes you, or you get free, unpunished damage. There are a couple of things worth noting if you do decide to use lasers:
1. While lasers are quite useful, if you choose to overuse short-hop-double-lasers then Marth will have an easier time catching up to you and punishing you.
2. Lasers tend to leave players holding a specific spot on the stage. You can avoid predictable stage positioning by only shooting two to three lasers and moving for new positioning. Repositioning when you want to use lasers is almost always something you want to run through your head.
3. You don’t have to short-hop-double-laser! Sure you can put out more lasers, but the time commitment to actually using them can be unsafe compared to just a single, fast-falled laser. Just using one laser is fine, it accomplishes the same thing and can be easier to move from/out of. If the Marth is really committed to dash dancing, the higher laser from short-hop-double-lasering doesn’t hit as often anyway.
Hopefully these tips help you out of situations where you might have felt uncomfortable previously. SSBM is such a wide and deep game it can be hard to really grasp and know the answer to every situation, but hopefully these tools will help you from getting caught out, confused, and cut up by Marth. Some of these tools can be used with other characters against Marth as well, so feel free to experiment with what can be useful.
Like our content? Support us by getting our merchandise in our shop