






Blogs
Zerg vs Terran: 10 Roach Pressure

One of the main frustrations that I (and probably many other Zerg players) have on ladder is close spawns on maps such as Antiga Shipyard and Entombed Valley. Zerg is a race that depends on the player's mobility, speed and reactiveness, all of which are maximized depending on how far away you are from your opponent.
Close positions on Antiga Shipyard are frustrating because the time between any incoming attack leaving your opponent's base and it reaching your natural is ridiculously short. On top of this, a Terran player could also opt to slow push this short distance with a mech play or any sort of siege tank line with a very low risk of you being able to counterattack around it. A Protoss opponent could opt for any sort of 2-base timing and place very safe proxy pylons in the short distance between your base and his, or perhaps decide to use a warp prism that could also be utilized to warp in units to your main/third base while he pushes your natural.
On Entombed Valley a 2-rax opening from Terran is very popular and most Terrans follow it up with mech play that, once again, is nearly impossible to stop in close spawns. Protoss opponents will have very favourable angles of attack with forcefields.
The point I'm trying to make is that close spawns (close thirds) on Entombed Valley and any spawn position other than cross-spawns on Antiga Shipyard are so unfavourable to Zerg that in my opinion they aren't worth playing out into a macro game. I've previously written guides explaining that mechanics should be a top priority on ladder but in this situation you're put in a position where mechanical skill can't really be used to get you out of geographical imbalances inherent in the map. For this reason, I'm writing a short guide on a pressure build that can be used in the above-mentioned positions on these maps: The 10-Roach Pressure (ZvT).
10 Roach Pressure
I'm not quite sure if DRG was the first person to develop this build, but he was definitely the first person that I saw use it, so I'm not sure if I should credit him for it. Several months ago while watching his stream I noticed him using an early pressure build with roaches (it is not an all in) where he delayed his ling speed and attacked with eight to ten roaches that arrived at his opponent's base at about 6:30-6:50 in-game time.
I've recently adopted it as my go-to pressure build in ZvT on close positions for Entombed Valley and Antiga Shipyard because I don't feel comfortable about playing those games into the mid/late game. This build turns the unfortunate positioning into a good thing for the Zerg player because the usually slower roaches will arrive at your opponent's base earlier than they would on a regular map. I usually follow up this build with the 2-base mutalisk play with some sort of ling/bling/mutalisk all in to follow it up.
You begin this build by going for the standard 15 hatchery, 16 pool for Zerg. I send out a drone scout at 12 supply to close spawns on these maps: on Antiga I send my first overlord to the base counterclockwise from me and on Entombed it goes to the base vertically across from me. If I discover my opponent in a close-spawn position, I place my extractor at 18 supply. I also prefer to gas steal as much as possible to delay banshees and to prevent marine pressure.
Many Terrans like to place a bunker in your natural mineral line to force you to pull drones and make you lose mining time but if you've made an extractor in his base you'll know if there's an actual threat or not because a Terran that is faking this pressure will usually rally his marine to attack your extractor because he wants hellions/banshees/upgrades as soon as possible. If no marine attacks your extractor then you know that you should be worried.
Additionally anything more than three marines attacking your extractor can be a tell that your opponent has more than one rax or that he is delaying reactored hellion play. The extractor gas steal does not delay banshees but I like to do it to make my opponents uncomfortable and to garner a little bit of information regarding where his marines are.
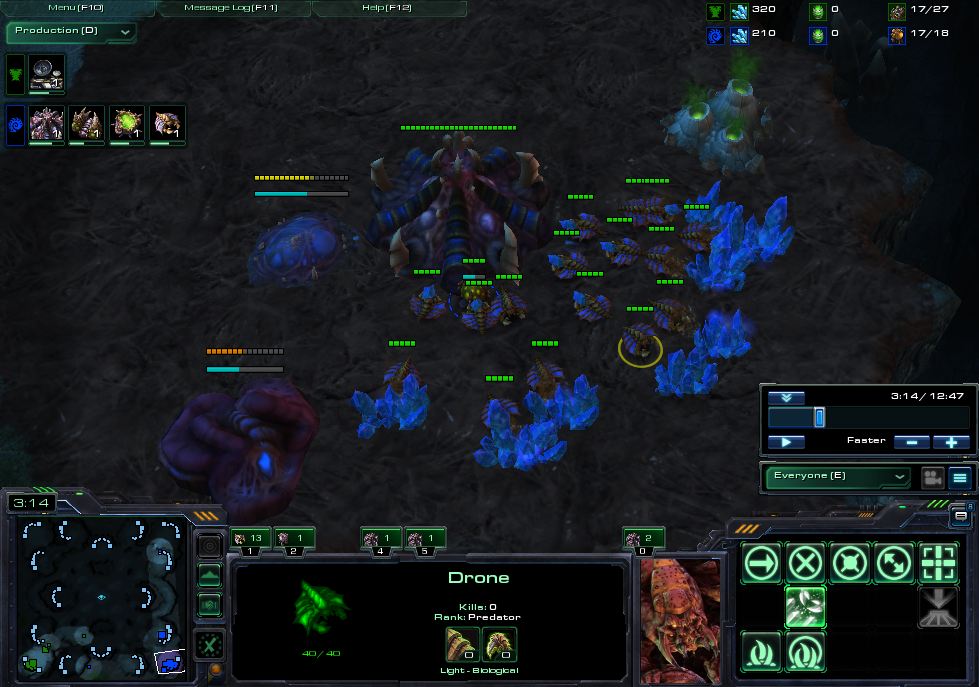
Take your gas very shortly after your pool, 16 supply at earliest, 18 at latest
Once you've made your extractor at 18 supply, put three drones in it immediately and begin queen production as soon as possible as well. Make one set of lings (only two zerglings) to deny scouting with SCVs and only two queens. Inject larva into your hatchery as soon as queens are done. Drone up to 28/28 supply as soon as you can and place your roach warren down when you reach 28 supply (this should be between 4:20-4:30 in-game time). Don't use your gas to get ling speed, save it all up for the roaches.

Remember to place your roach warren at 28/28 supply (around 4:25)
When you place your roach warren, make three overlords as soon as possible bringing you to 28/52 supply. When the roach warren completes, make as many roaches as possible (should be between eight and ten) bringing you to a total of 44-48 supply and then go straight back to droning. When your roaches complete send them over to your opponent's natural at once.
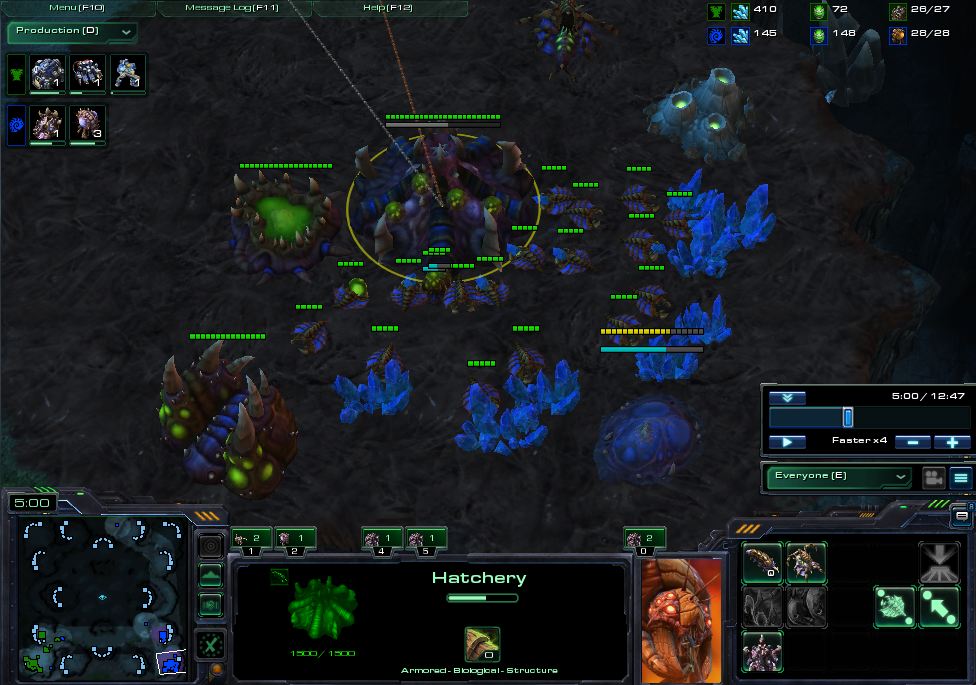
Don't forget to make three overlords (two for roach supply, one to allow you to drone behind attack)
Once you arrive at your opponent's base, if there is no bunker kill as many SCVs as possible while you stutter step your way to the main ramp. If there is a bunker and your opponent has not immediately pulled SCVs, you can kill it. If your opponent has pulled SCVs and is repairing, stutter step your way past it as you kill SCVs on the way to his ramp. When you reach the ramp, kill any add-ons you can and then kill as many SCVs as possible. Do not reinforce your attack, this is meant as a pressure build, not an all-in.
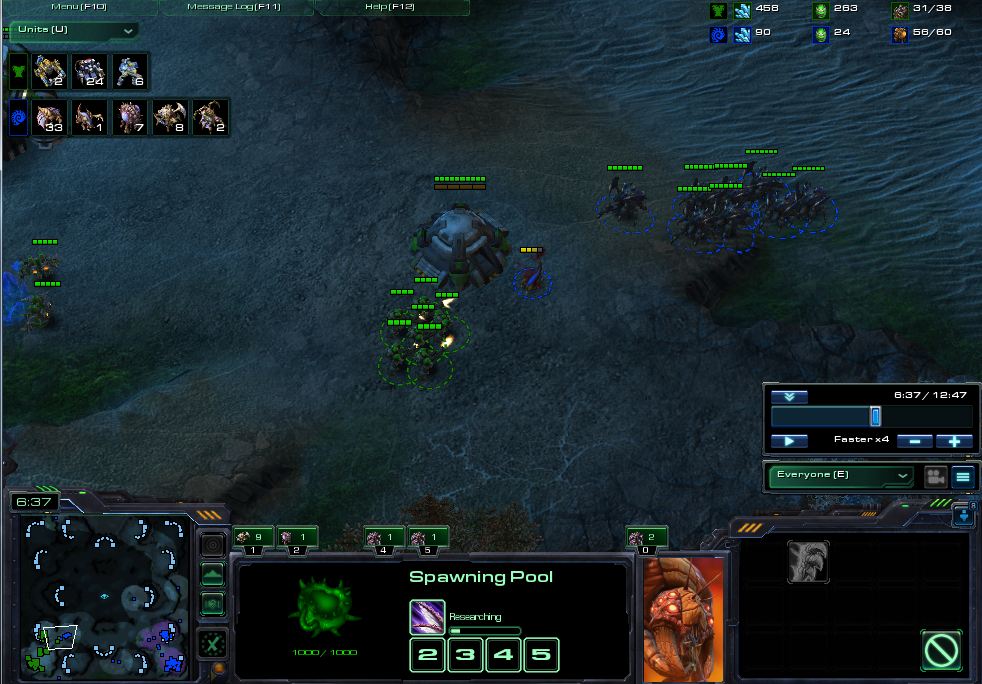
Your roaches should reach your opponent's natural at 6:30-6:40

Roaches doing damage (notice the drone production behind the attack)
If your opponent has defenses up and has prepared relatively well, simply bypass the defenses and go to the ramp, doing as much damage as you can along the way.
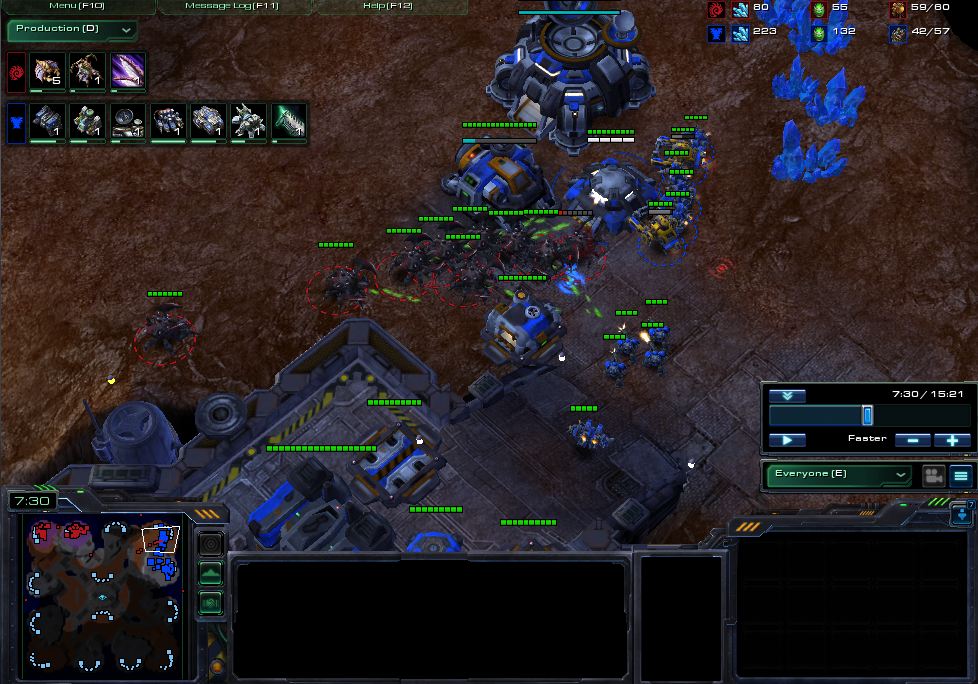
Roaches are in the process of running by the bunker
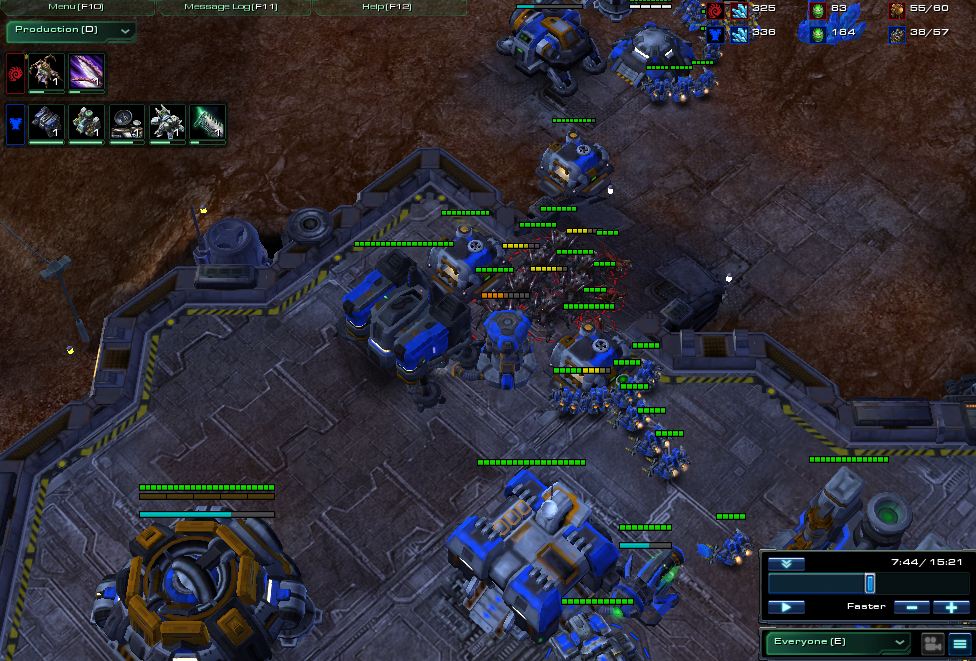
The roaches are at the ramp picking off reactors/tech labs
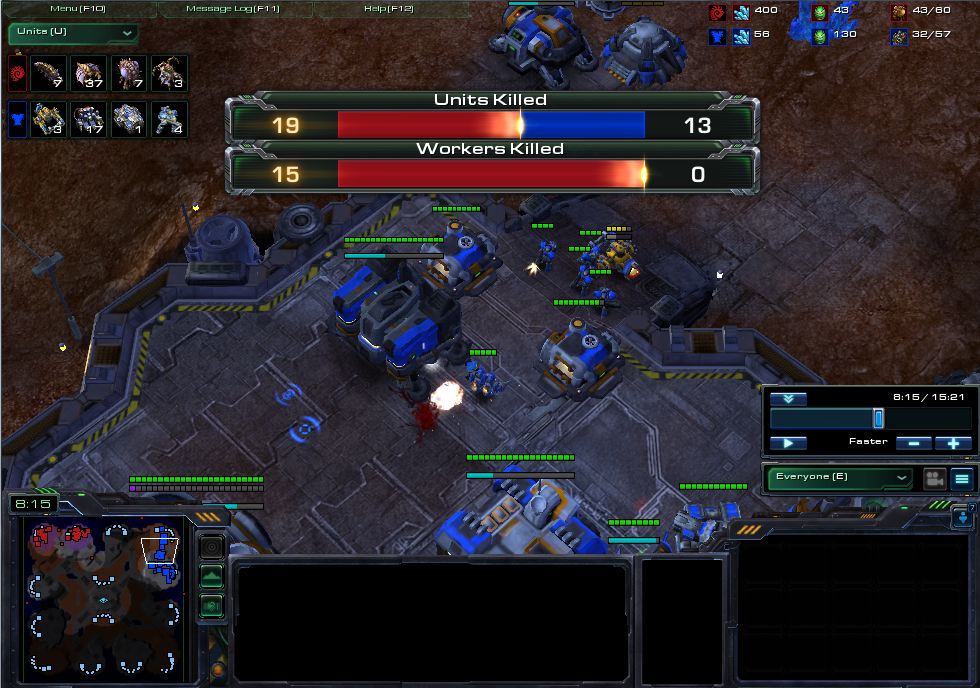
Notice the damage done and worker counts after the roach attack (three MULEs help him back in)
Behind this attack you should be droning up very hard, getting additional queens and making an evolution chamber. You want to aim for complete saturation on two bases with about four to five queens as soon as possible. The evolution chamber can be delayed if you notice your opponent was not going for banshees because banshees are the main way that a Terran player can recover from the damage sustained from this push. If your opponent was going banshee hellion, get two evolution chambers and try to make a choke where possible while getting one spore crawler per mineral line and making up to five queens.
After the roach pressure you play out the game as standard as possible, spreading creep, getting ling speed with your next 100 gas (after making the first wave of roaches) and maybe taking a third if you feel really comfortable with it. If your opponent goes for hellion/banshee then get ling speed and with your next 100 gas tech to lair and take a second extractor immediately and two more extractors when lair is 50% complete bringing you to four geysers total.
Go for a spire immediately after lair is complete and play out the game with muta/ling/bane. If you noticed a heavy bio/tank composition then I'd suggest taking a third and either going mass ling/baneling or going ling/baneling/infestor since mutas aren't so great with close spawns on these positions.
That just about concludes this short guide on the ZvT 10-Roach Pressure. Again this is not an endorsement of cheesy/all-in play, even though cheese and all-ins do have their place in SC2 strategy, it is just a way of getting ahead early in a situation where the Zerg player would normally be at a geographical disadvantage the longer the game progresses. Feel free to leave any criticism or comments and as always good luck and have fun!
Special thanks for Saikou for knocking out a few games with me so I could have replays of the build and to Nos and Ingebrigtsen for looking over this guide as well!