






Blogs
StarCraft 2 Zerg Play: defeating a bunker rush

saltymango
Sun 1st Apr 2012 - 7:18pm
The bunker rush is a timeless and irritating thorn in Zerg players’ sides at every level of play, from bronze league to code S. But with the proper scouting and response you can begin to humble your cheesy Terran opponents. This guide will focus on the correct way to stop powerful build and survive relatively unharmed into the mid-game. Following these simple guidelines will help you hold early bunker rushes, including the much despised 11/11 rax, with a standard 15 hatchery build.
Prevention
The best cure for any illness is preventing it in the first place. Catching and preventing a proxy barracks while it is building is the easiest way to stop a bunker rush in its tracks. Attacking the building SCV with your scouting Drone can often lead to disastrous situations for a Terran player. Check every possible place a barracks could be hidden. Some common places include the watchtower on four-player maps and places overlord scouting patterns generally don’t cross.
If you can scout and stop a proxy barracks build before it happens, you may not even require the other steps of this guide, as you will instantly gain an enormous lead over your opponent. It is also prudent to place a Drone near your natural expansion to see if an SCV begins building a bunker outside the range of your hatchery’s vision. If you fail to prevent proxy barracks from landing, as it is often difficult to find the clever places opponents find for their structures, then the next step in holding the bunker rush begins.
Breaking the Bunkers
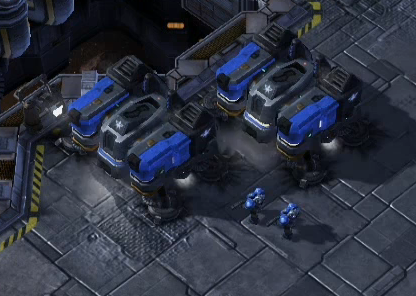
The standard number of Drones to pull when you first notice a bunker going down near your expansion is six. It is vital that you select two Drones to attack the SCV constructing the bunker itself, while sending the rest to handle the first Marine. A good rule of thumb is to prioritize building SCVs over Marines and Marines over idle SCVs. Understand that it is better to overreact than underreact to a bunker rush.
If your opponent waits to show his Marines until after he has gathered a small group of them, six Drones will not suffice to take them down. Either pull more Drones or wait till you have a number of Zerglings before engaging. But remember, the later you respond to seeing a bunker rush, the more difficult it becomes to break it. If you scout or suspect an 11/11 rax build from your opponent, it is wise to build a Spine Crawler at your natural expansion the moment the hatchery finishes production.

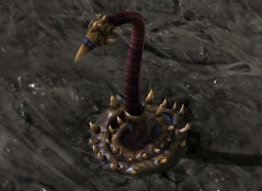
Spine Crawlers outrange marines in bunkers by a mere one hex, so it is important to become accustomed to recognizing the perfect distant at which to build them in order to attack a bunker untouched. Note that the more Zerglings you are forced to make, to defend, the less Drones you are capable of making and the farther behind you will fall.
A Spine Crawler can help you defend while conserving larva in order to make more drones later in the long run. If despite all your efforts a bunker completes, it is often a good idea to send Zerglings around it and destroy reinforcing Marines before they can reach your base. A single bunker with four or less Marines in it can be destroyed rather efficiently, but if you allow more Marines and more bunkers to reinforce, the situation can spiral out of control.
Lose the Battle, Win the Match
Finally, if all else fails, sometimes it is best to know when to cut your losses and run. Abandoning your natural expansion will leave you behind, but not so far behind that it is impossible to win. If you suspect early on in the rush that you may come to this, you can cancel your hatchery right away and break the bunkers before losing all the critical early game resources.
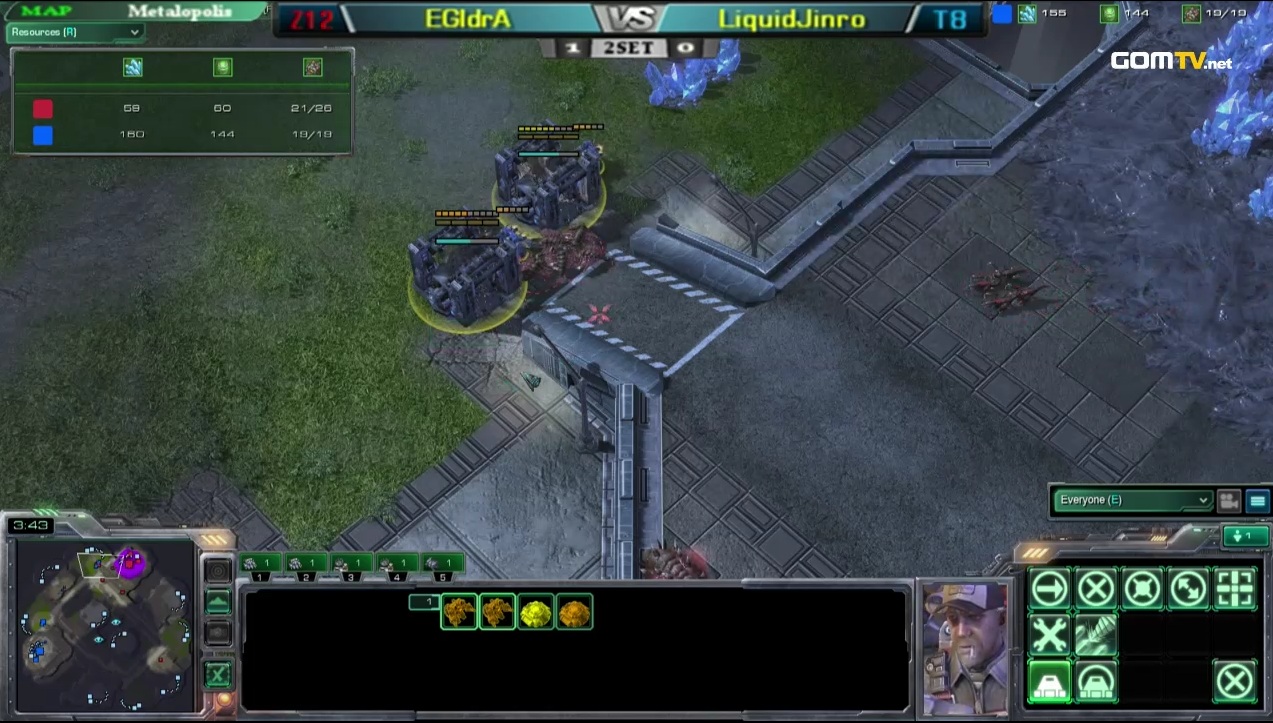
This would be a good time to concede your natural expansion.