Blogs
How to Retake B on Cache
Introduction
Recently I’ve been lucky enough to play a lot of Cache on MM and ESEA servers and the map has really developed into one of my favorites. However, I quite often see many of my teammates struggling to push into and retake the B bombsite, especially when we are one or two men down. Understandably this can be a difficult prospect as a coordinated T side will use the last few seconds of their smokes to spread out post-plant, making it harder to possibly check and eliminate all the possible positions. Here are some of the strategies you can use to eliminate key defensible positions for the Ts and clutch those close rounds on the B bombsite.
CT Spawn
The first and most obvious rotation point is through CT Spawn. You’ll generally come this way if you’re an A player for a safer route to the B bombsite. The first step is to make sure you are watching Tree Room. Aggressive T players may pop flash through their own smoke and try to get a pick as you’re running, so make sure to keep your gun out. At this point you might want to take a couple of quick seconds to spray through the Checkers wall to tag or potentially eliminate a player behind the box. Don’t do what many players do and spray through the metal door because that will reduce your damage substantially even with rifles, instead shoot the canvas, as you can penetrate that with a USP doing 17 damage per shot.
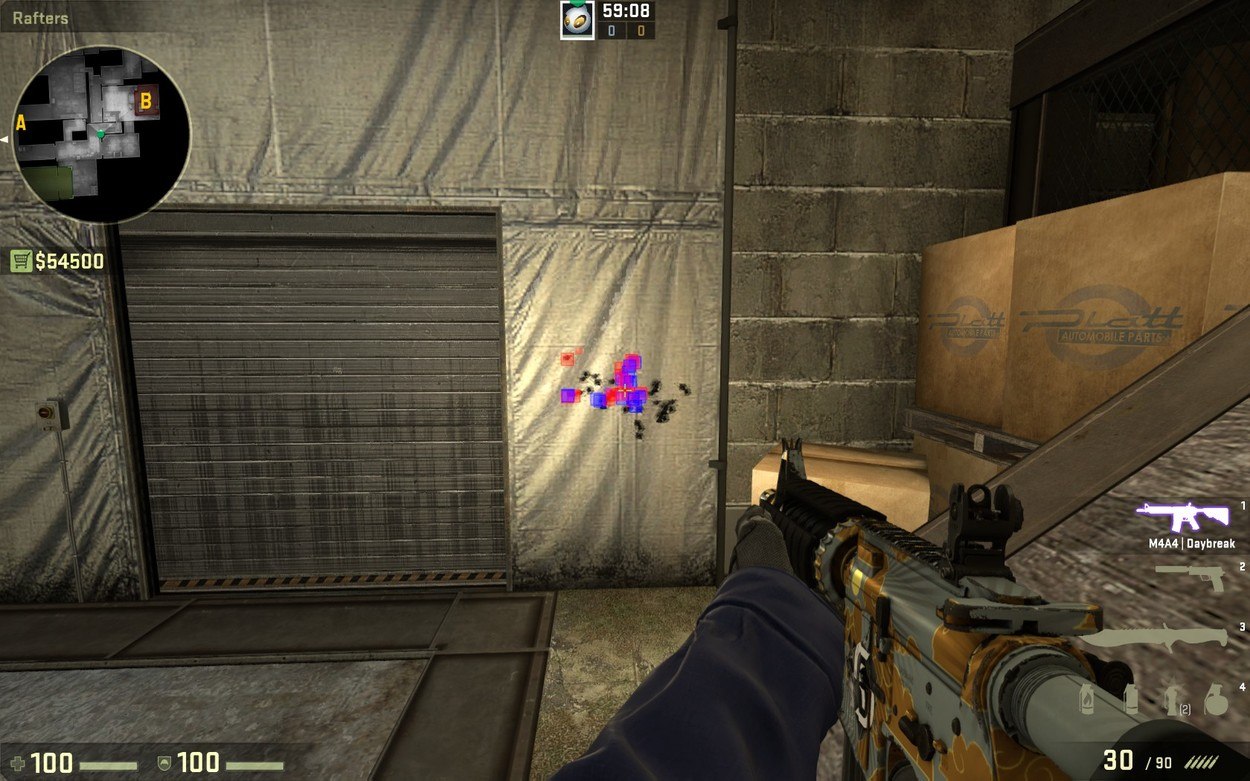
Simply position yourself to aim at the middle of the canvas to hit a player there
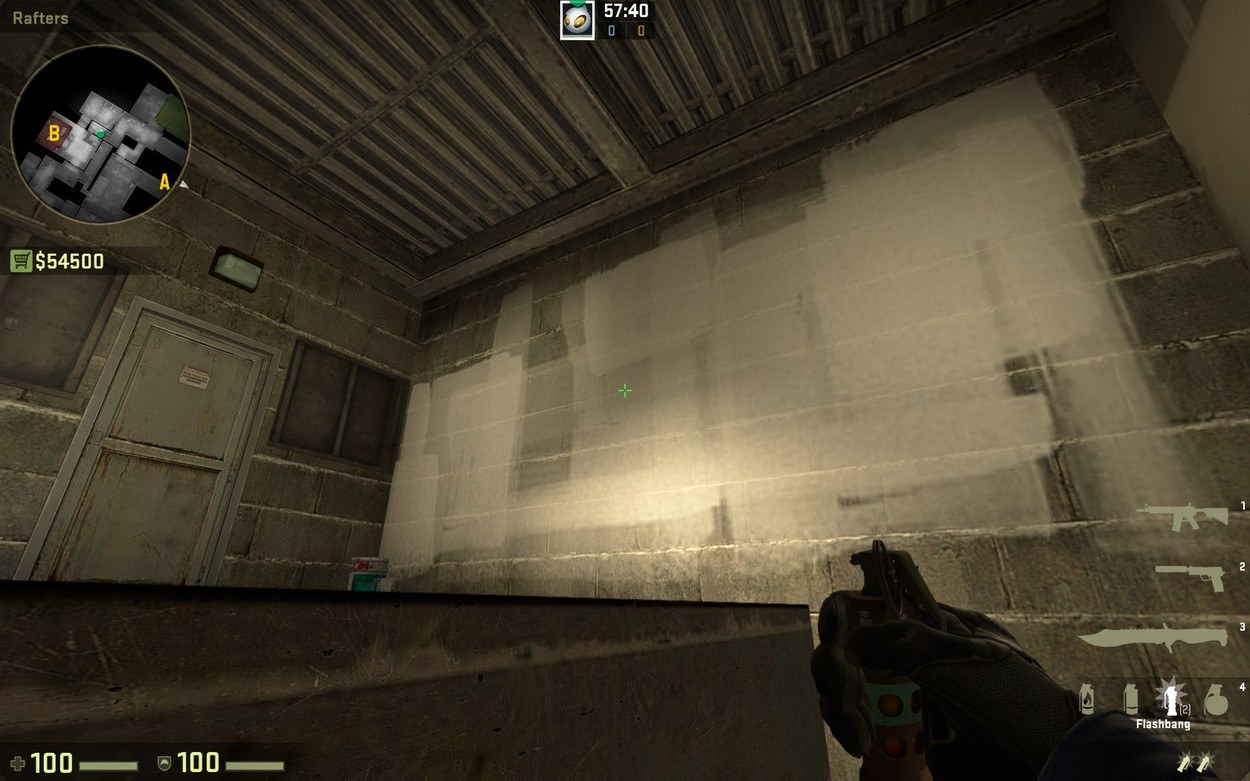
From here you have two options, either push Heaven or Tree Room. First, let’s take a look at Heaven. A very important retake smoke is to cover the door from B main, this will force a Checkers player to peek from the left-hand door and eliminate a common angle for both AWPers and riflers. Crouch right in the corner and look at the third line in the metal grate while lining up roughly in the middle of the B main entry to throw this smoke.
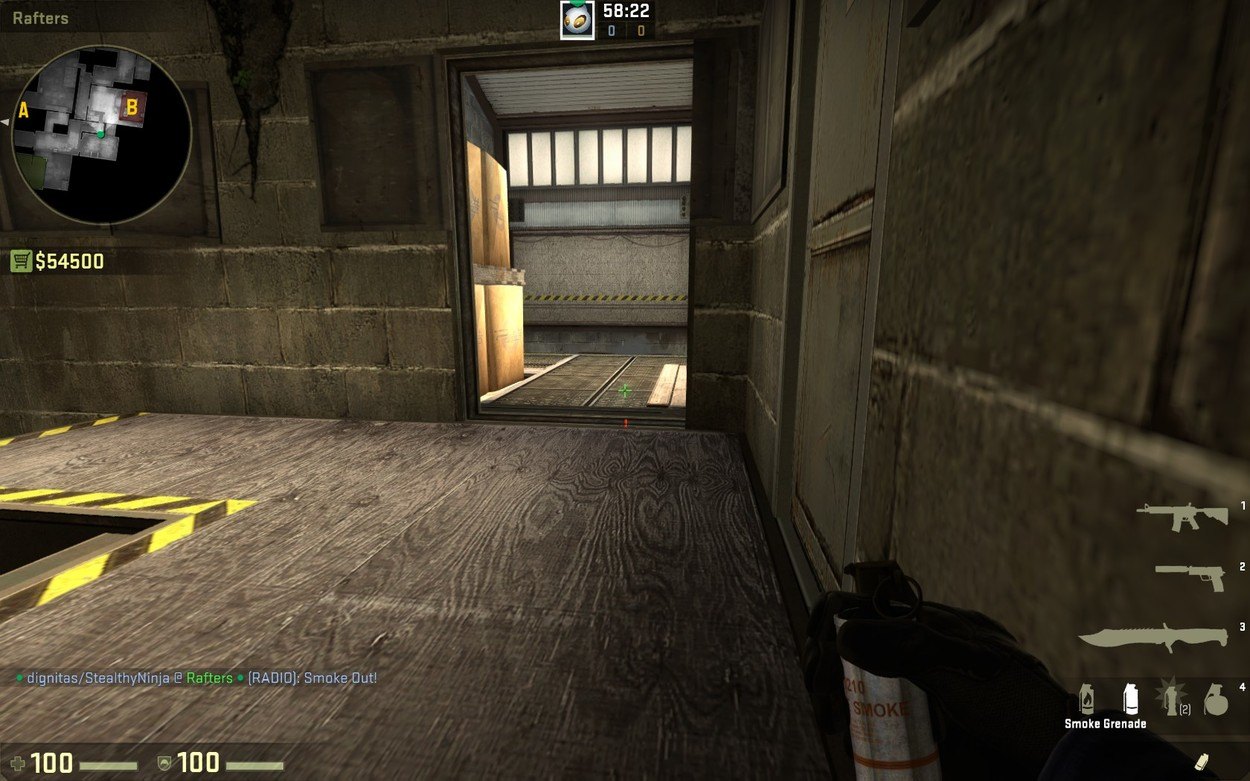
There is also a fantastic pop flash that will blind some people on site, both spots under heaven and the Checkers player while allowing you to run out. Ideally, you want to couple this with a player pushing out of Tree Room and onto Headshot as they will be able to easily trade anyone on site with you while you take a fight with any of the aforementioned spots. Throw it from the boxes just below heaven right in the corner.
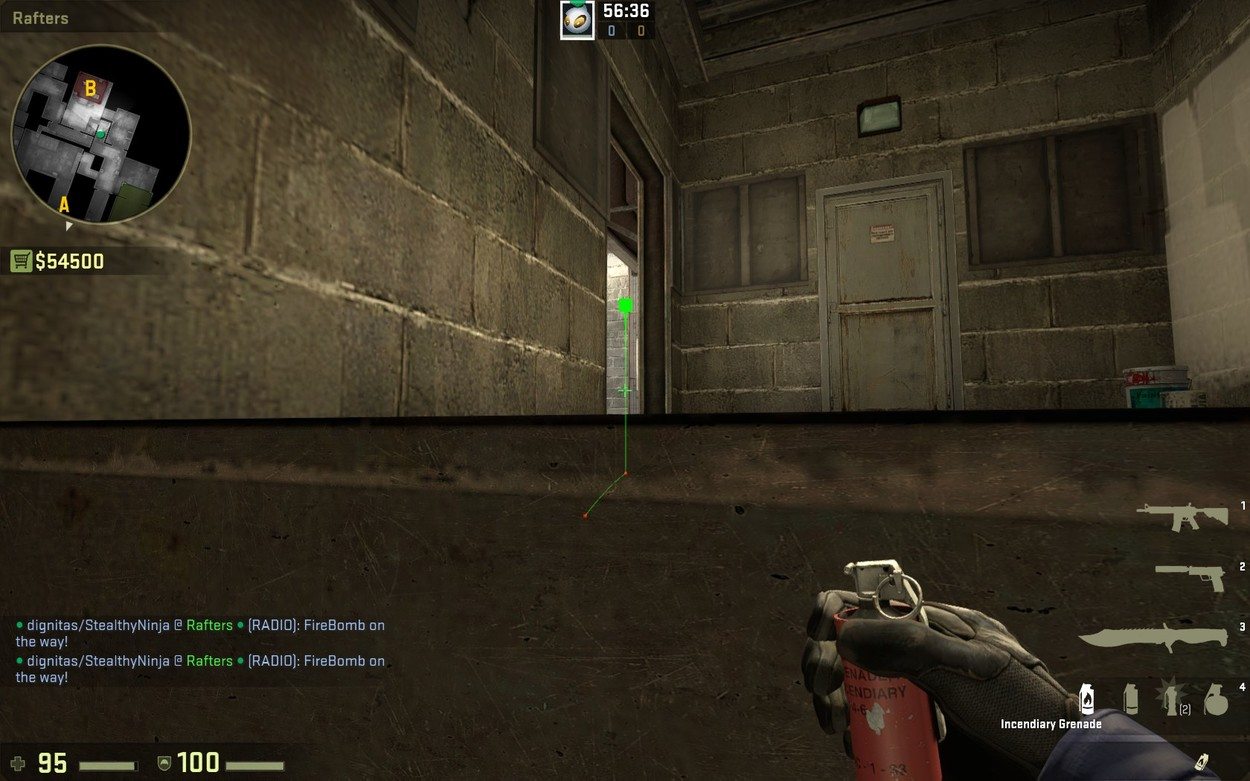
Furthermore, you have a couple of options with nades and mollys that can really damage players on site and limit their movement. Simply stand on the boxes and line up your crosshair with the bottom of the B sign and then aim slightly left. This will stop players planting for Default and move post-planters to either Headshot or the back of site, making your job much easier.
If you choose to go Tree, your options are generally more limited and you’ll find most of your success when you can work off a partner in Heaven. However, if you find yourself alone remember to clear angles one-by-one. Start with site, B Main, then Checkers. If you are on a time schedule and you have to be aggressive, you’ll find yourself open to many potential angles so the only way to push is with a pop flash and a smoke. Simply run and throw a smoke at the middle of the wall and it will bank off covering Checkers and B Main. From here throw a flash to blind players under Heaven and Headshot to take control of both angles and gain access to the site.
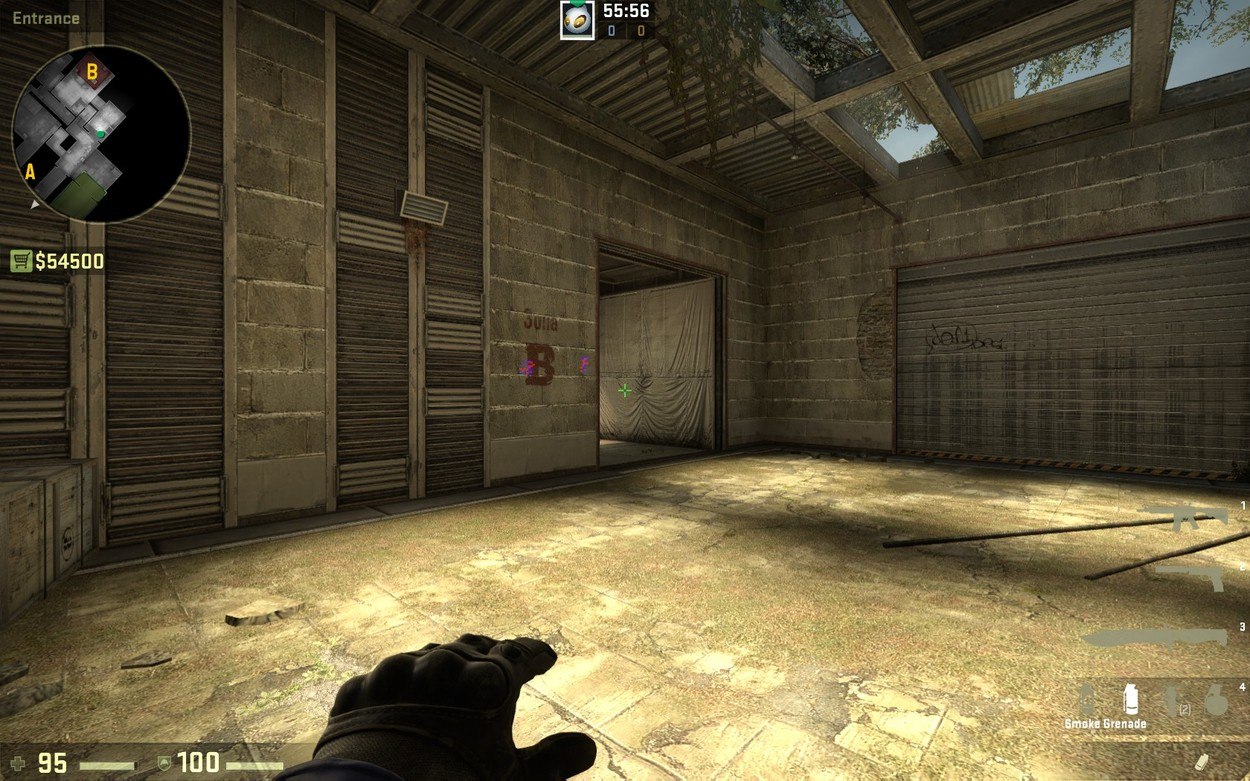 Make sure to come at the wall from an angle so you don't throw a shallow smoke
Flank
You have two options when flanking. You can either push through Vents or to push through B Main. Vent is the most accessible option but comes with some intrinsic difficulties when pushing alone. Primarily if Vents are not popped then it becomes easy for the T players to estimate your position based on audio cues. Furthermore, the way the geometry of the vent works favours any defending player. My best advice is to go hard when pushing Vent, wait till the T’s are distracted either while taking the site or being pushed by CT and use that split second to negate their defensive advantage. If the second vent isn’t popped, you can use it to slow down a flash and potentially pop flash anyone sitting close to the vent.
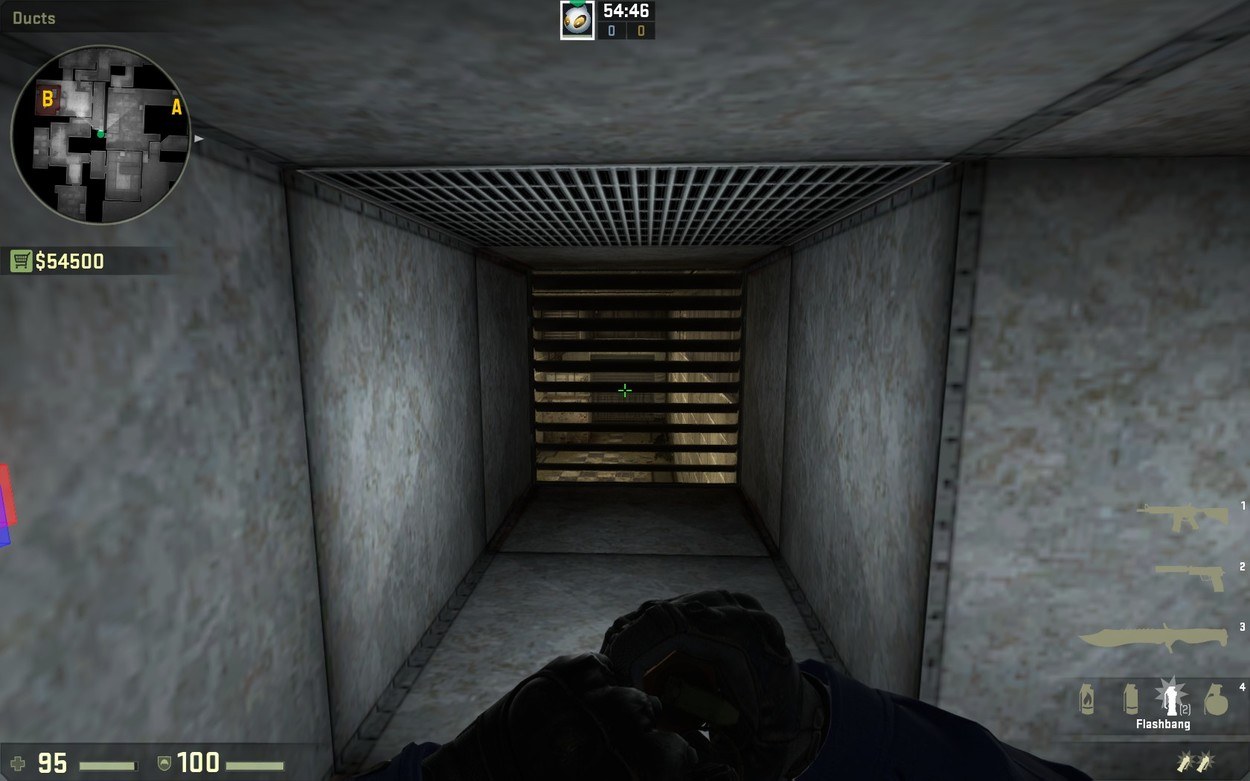
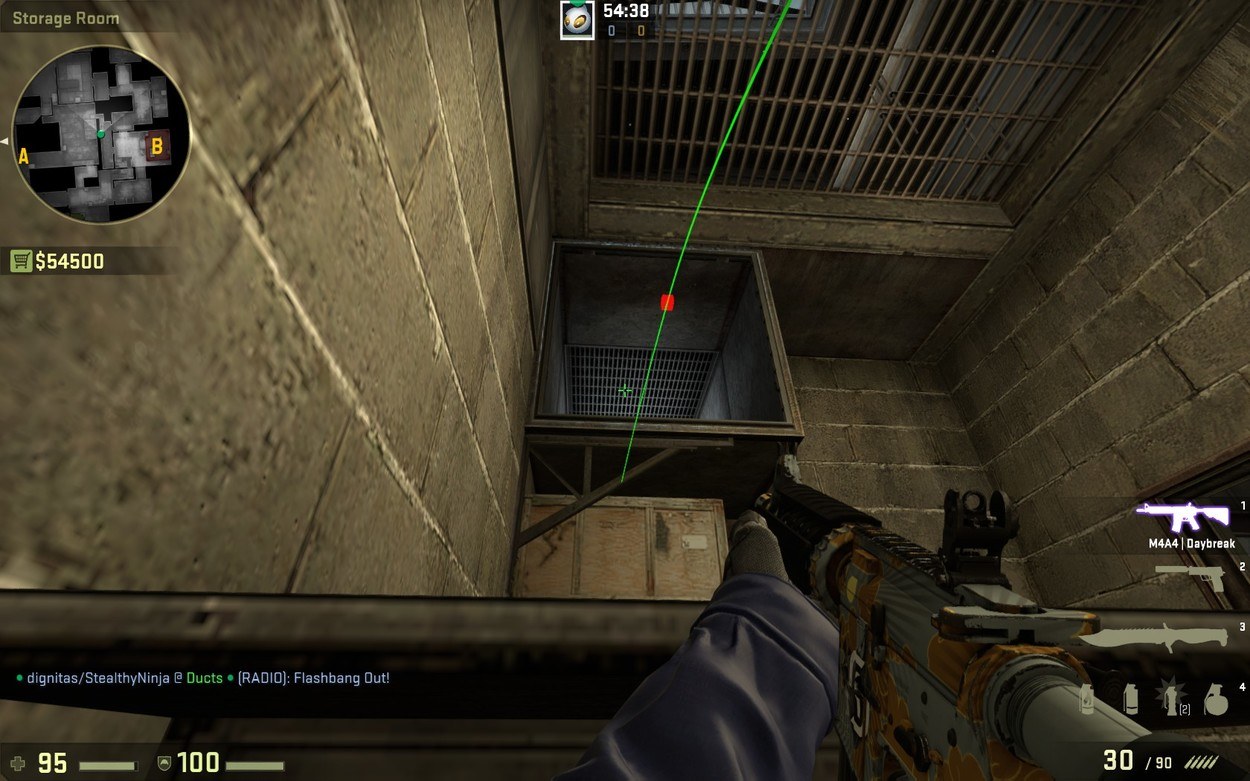
Sometimes a CT might play this angle to kill you as you drop so be aware of sneaky positions
With the increased bomb timers, I have found the extra 5 seconds to be very advantageous in allowing big flank to be a more successful route. This is generally a more advantageous fight for you to take as the stable ground allows you to easily line up headshots and flank more stealthily without having to pop a vent. This plays very similarly to a B take from the T perspective for obvious reasons. However, you have the advantage of players hopefully distracting from the CT side of the map. This can be useful as a Checkers player may be distracted allowing for an easy kill and opening a new angle for you to retake from. Remember that if a player is sitting at Triple Box, the left hand most box is spammable so if you keep getting jiggle peeked you can just take them out right through the box.
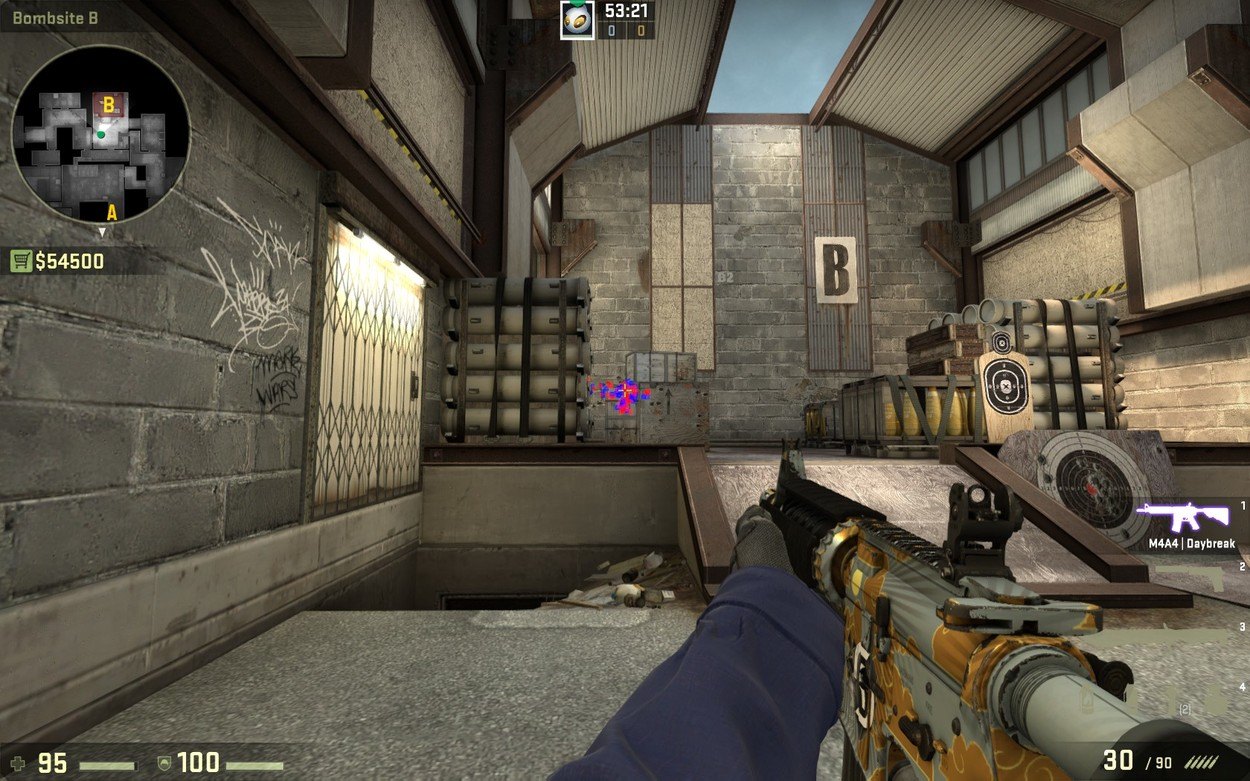
Spam this box to get some cheeky kills
Conclusion
Retaking B isn’t really that hard. It just requires quick and decisive movement. Use your flashes and nades to bait out the enemy and put them in disadvantageous positions and push aggressively using your team to distract and divert the attention of the T side while you clean up either from flank or CT. Remember that your only real disadvantage is time and that you have the positional advantage even if you’re down a man. Be confident and retake that B site.
Get your own AKRacing Chair here and support our players, all profit goes towards the teams!