Blogs
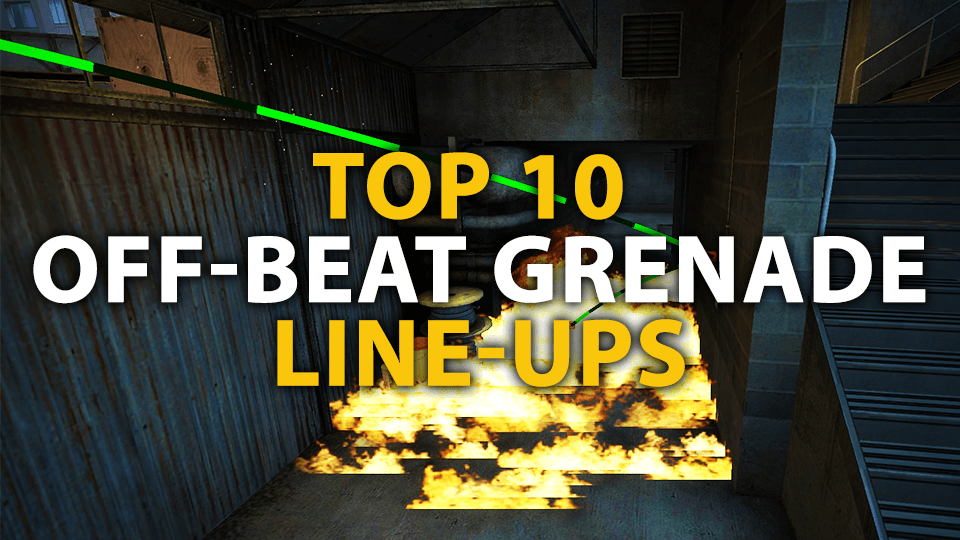
Top 10 Off-Beat Grenade Line-Ups

Above a certain level, utility usage becomes crucial to winning not only rounds, but matches. This is obvious if you look at matches above the Legendary Eagle rank and especially true in most team matches you will find. However, even with multiple hundred thousand of players daily, there are line-ups that are yet to be used effectively, efficiently, commonly, or at all, and I want to give you the opportunity to look at a bunch of these and make up your mind about if, and if yes then how, to use them.
Not all of these line-ups are unknown, but they are at the very least underutilised in casual and/or competitive play. Their appearance in this list a call for appreciation of these line-ups. Also, although I will number the line-ups, they aren't exactly in order as I put line-ups on the same map around the same spot, making it easier for you to learn them in one or two sittings. It is important to keep in mind that your crosshair will most likely differ from mine, making measurements that require you to use the size of your crosshair impossible for me to properly predict for you, but without further ado, here come the line-ups!
10: Cache: Garage to CT-to-B
Stand in the middle of the weed to the right of Garage and look towards Mid. Place the end of your crosshair's left and lower line on the edge of the wall and roof in front of you. Then run until your crosshair has passed the lower end of the roof before performing a running jumpthrow.
This smoke will land in the doorway between Connector and Truck, making it almost impossible to see through, even though, depending on the random spread of the smoke, there can be gaps no matter how perfectly you throw this smoke. I know, this smoke already seems like a long-shot to properly implement into your play, but hear me out. Default with a Lurk on A, three guys take Mid and one guy stays in front of B. After you've taken Mid, the Lurk comes back to Garage and throws this smoke, enabling you to wrap CT-to-B, pincering the B-Bombsite in a controlled manner like never before!
9: Mirage: T-Spawn to Ticket Booth
Stand in front of the slanted corner at T-spawn and line yourself up in front of the white line between the bricks in the texture. Now look above A-Main and find the protruding pipe in the big building in front of you before you place your crosshair in the middle of it. Jumpthrow your smoke to have it land on Ticket Booth.
This one is easier and requires less coordination, but is still perfect for getting rid of the annoying AWPer always jumping up on Ticket Booth once you smoke CT and try to enter the A-Bombsite. Parted with a normal CT-smoke, this smoke will grant the AWPer no vision from the box, taking more time from him as he has to climb one step further, at which point you would've spammed him through the smoke.
8: Train: A-Bombtrain to above Popdog
Stand on the A-Bombtrain and place yourself centered in front of the tower further away from Popdog. Turn around and find the most right-sided window above Pop before you shoot it open and pull up from it until the centre of your crosshair meets the highest cable visible and runthrow. You can use this with smokes and HE-grenades instead of mollies, too!
Not just suited for the CT-side, this line-up is used very rarely, mainly due to the potential danger of a push from A-Main, however, if there is information that there are many in front of Popdog or B wants to go aggressive anyway, there is a case to be made that this line-up can help you win the round more decisively, either by blocking off T reinforcements in front of B or by just buying time. On T-Side, you can block-off the B rotates with this throw.
7: Inferno: Dark to B One-Way
Stand in front of the pillar in Dark and find the darker line around head level before lining up the vertical crosshair line with the edge of the protruding part of the yellow box. Pull your crosshair up until you horizontal lines meet the corner of the bump at the top. Now jumpthrow and enjoy your one-way smoke!
Perfect to catch the enemies off-guard once or twice, this smoke can decide rounds for you when it is looking dire, locked into the bombsite without much hope for reinforcements before your time runs out. This one-way will allow you to see their legs while they can't see you, giving you a sincere advantage in the engagements.
6: Inferno: CT Combination
First, stand in the protruding edge of the facade behind Wallbang before aiming above the left end of the chimney until your horizontal crosshair line meets the corner of the roof above you. Now pull more to the left (there is a lot of wiggle room) and throw your CT smoke before walking up to the corner of the yellow building in front of you and placing your crosshair just below the extended part of the roof at CT before throwing your molotov.
This will not just smoke off CT, but also burn anyone on CT-Boost, making it way easier to push B. You won't have to worry about that angle, allowing you to take fights on-site more confidently. That being said, this can take time out of your already rushed execute, so be aware of the time consumption of this combination before trying it out.
5: Overpass: B-Short to Connector
Stand at the corner of the building at B-short before aiming above the right window to Connector. Pull up until you pass the level of the grey half-wall to the left and throw any grenade you want. Smokes, HEs, flashes or incendiaries, all of them are effective.
This can be especially helpful if you took B-Short with the all-so-popular smoke/incendiary line-up from Jungle to Short-Tunnel, flashing your Connector player in for a favourable peek or using fire to keep him safe from below. The only downside is the potential for a sudden turn-around after the Connector player dies at the worst possible time when you set-up and they one-tap you after opening the door.
4: Overpass: Fountain to Tree
Find the shadow to the right of Fountain (shadow settings on low!) and stand at the "pointy" end of it. Now aim to the right of the tree in front of you and walk back until the leaves of the tree on Long meet the branch of the closest tree. Stop, aim inside of the thick part of the branch, and runthrow your molotov to light the Tree position on fire.
Allowing you to get rid of one of the most powerful positions on Long, this line-up will prove especially useful against aggressive CTs that like to claim a lot of real estate on Long, minimising the potential of a hiding CT as your team starts clearing out Long for your incoming A execute.
3: Dust 2: Double Doors to the barrel at Long
Stand on the part where the slightly damaged green tiles in front of the stacked boxes on Double Doors meet and aim above the corner of the walls towards Long before simply jumpthrowing.
This pretty straight-forward molotov line-up has a very straight-forward purpose: To get rid of a pesky close-up position on Long, as there is a multitude of approaches the CTs could choose from on Long. This can be especially useful against low economy buys, in which people like to go up close everywhere, eliminating a very dangerous position.
2: Dust 2: Long to Container
Stand below the grey and broken part of the facade on Long and aim at the lower end of the building of Double Doors before performing a running jumpthrow.
I know, it's easy and pretty obvious but hear me out: The amount of time I've seen people in Matchmaking and PUGs die to a T hiding at Container is too damn high for me to ignore, which is why I found this quick and easy way to get completely rid of the possibility. Dust 2 isn't as straight-forward late-round as it is early round, as Ts like to hide everywhere, which is why this line-up can be incredibly helpful to keep all your guns alive in a saving-situation!
1: Nuke: Ramp One-Way
Stand at the vertical bar of the railing around the ramp in Ramp and aim to your left, where you need to find the second black part of the yellow-black pattern on the lower bar, counted from the left. Now place your crosshair below the lower-left corner of said black part before jumpthrowing, making the smoke land on a box in front of the railing.
Simply stand where conveniently the arrow is pointing and you will spot all of the feet coming into Ramp while they won't be able to spot you. Granted, this will only work so much before people start prefiring you, but I think Nuke deserved a good one-way to encourage people to play it more often!
Do you want to tell me how you know much better fitting off-beat grenades or simply want to say hi? Head over to our #Digscord and meet the teams, staff, management, and, of course, our beautiful community!
Like our content? Support us by getting our merchandise in our shop