Blogs
A Guide to Soloing B on Cache
Cache is a fan favourite map that has developed a number of strategic choices over the years it’s been active in the competitive pool. One of these is solo B, a strategy available due to the particular map design on Cache that funnels Ts through a single entrance if the CT team manage to hold mid while enabling a quick flank from your team. Furthermore, this enables a CT side to shift players across the map stacking the A site against a T side who has been tending in that direction to throw them off or putting in more of a mid-presence to stop the Ts pushing up highway or through vent to split your attention. So having said that, let's take a look at some of the setups you might have as a solo defender on B and how to play them.
Checkers
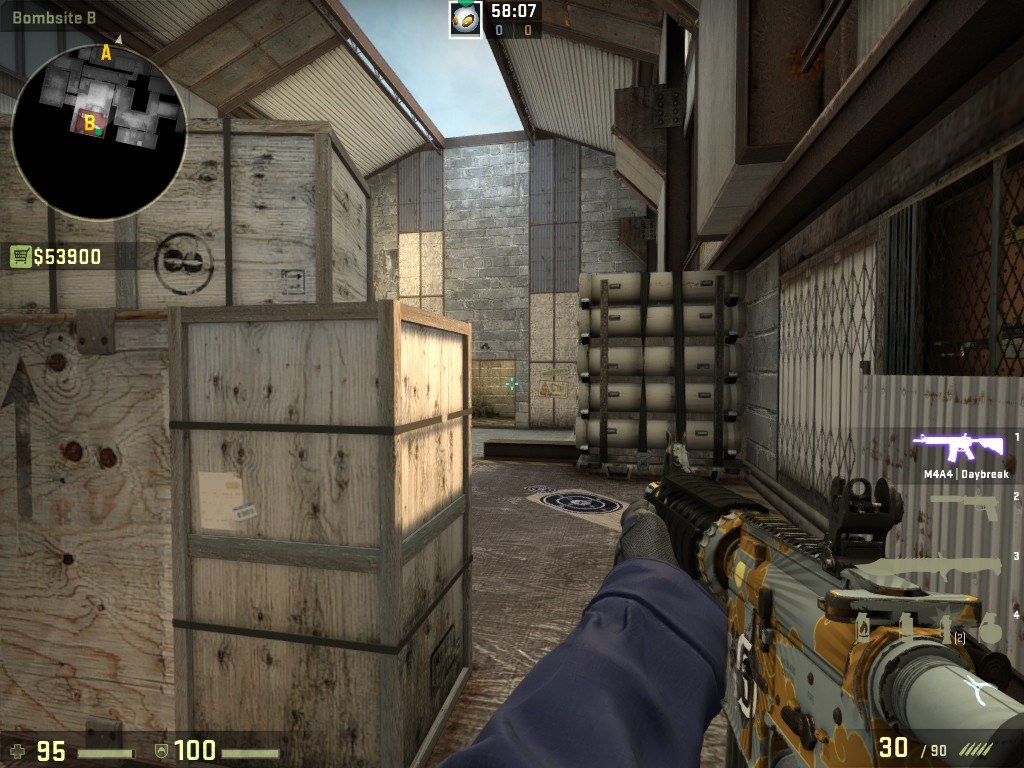
The first and one of the common ways to hold B in conjunction with a mid-player at vent is to hold inside checkers and there are a few variations to this rule. First though, you have to cross into checkers. Make sure you have a solid forward spawn to get there before a potential rush and buy a smoke grenade to smoke off B main. This is a simple smoke you can throw while running right into checkers to slow attackers.
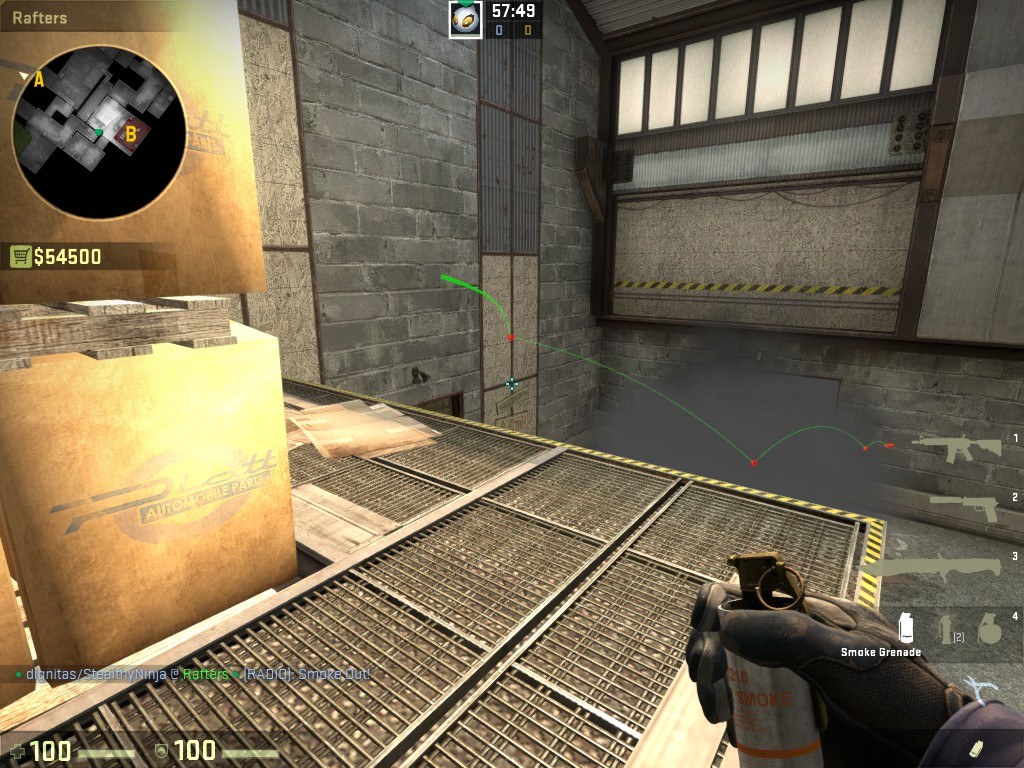
From here you can fall back to the checkers boxes where you can hold the smoke and wait for anyone to push. This is a really fantastic angle as it is so secluded people can’t really root you out of the corner unless they run in the open towards you. Furthermore, it enables a crossfire between yourself and a vent player. You can take a fight to distract the Ts and fall back giving your ally a chance to shoot your enemy in the back. The pros of this position also lead into its cons. It becomes really easy for the enemy to just run onto site and plant if you are forced to take cover and nades and molotovs are super effective against you.
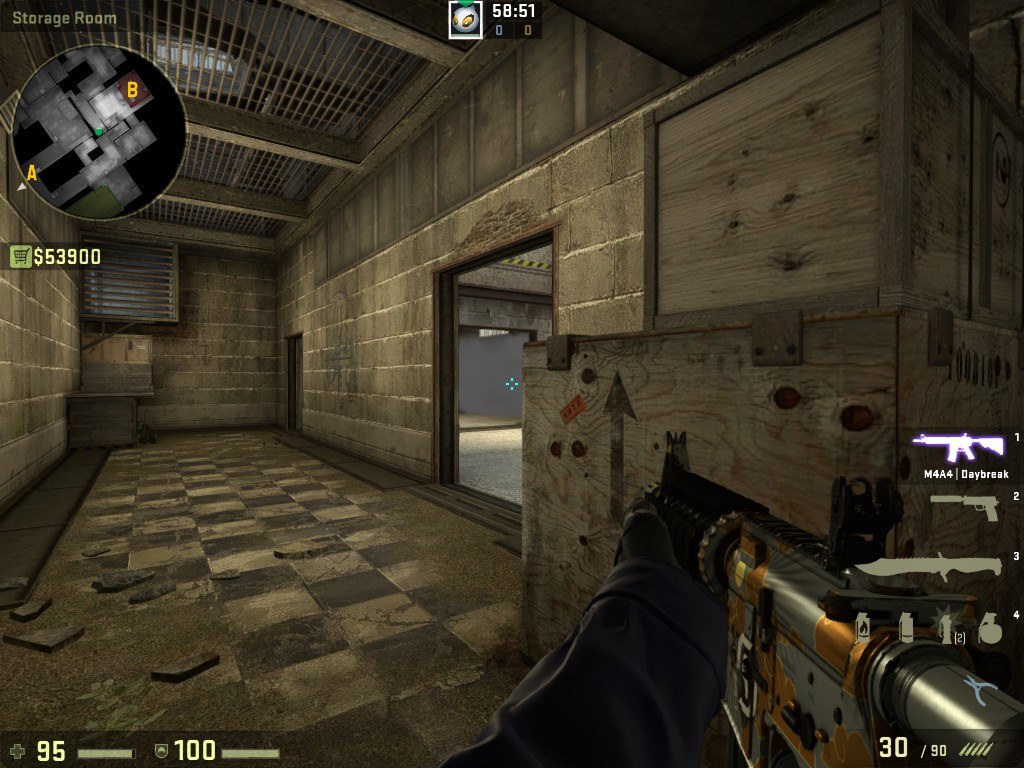
The other option is to dart between the B main and B site doors of checkers to take fights from angles the enemy might not expect. If you can get into position and the Ts are split up and not communicating you can effectively take fights almost one at a time. However, if they do split and push from both angles, you are faced with certain death without any cover to defend you. This can be counteracted with a quick molly to the B main entrance to stop that avenue of aggression.
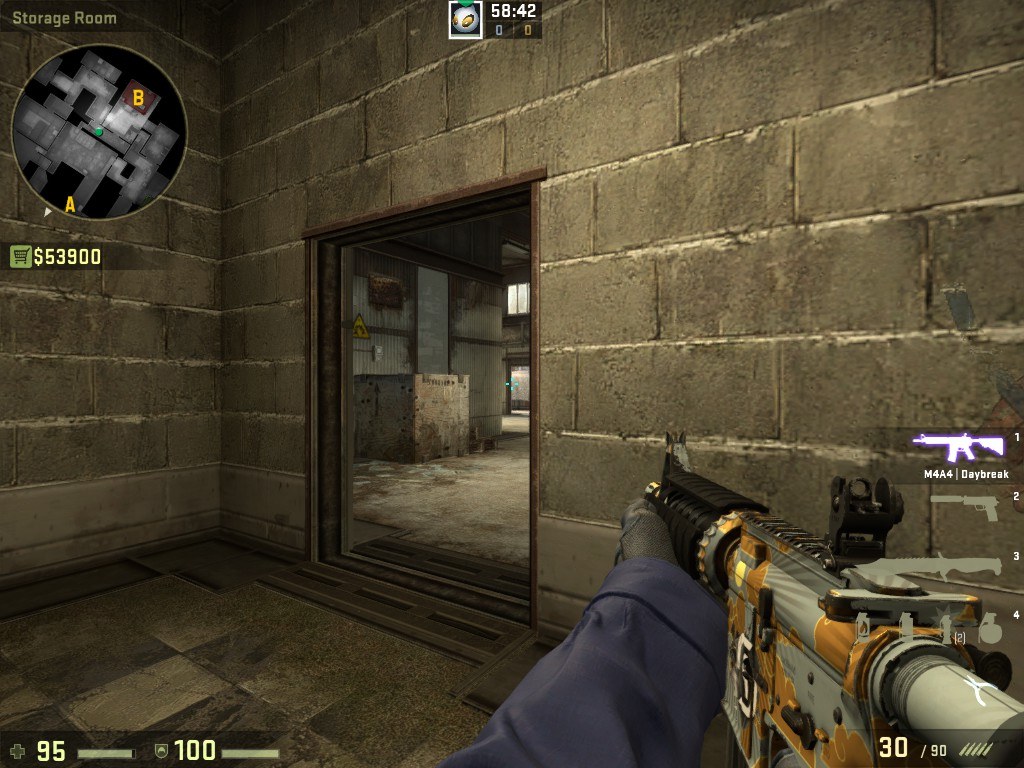
The final option is next to the box in B main, coupled with your smoke and crouching it can be used to be effectively invisible until a T crosses into your line of sight. This position is often checked but you can still gain an advantage here if you’re shrewd and quick. Just watch for people jumping on the box to your head. If you are fast and get an initial pick you might have a chance to fall back under the cover of your smoke to one of the other positions while your vent teammate covers your back. These positions are all one or two kill and done positions, so don’t expect to get aces as you are rushed by the enemy. If you manage to get a couple of kills and set up a kill for your vent player you have enabled a 4v2 retake that can be executed really quickly from multiple angles.
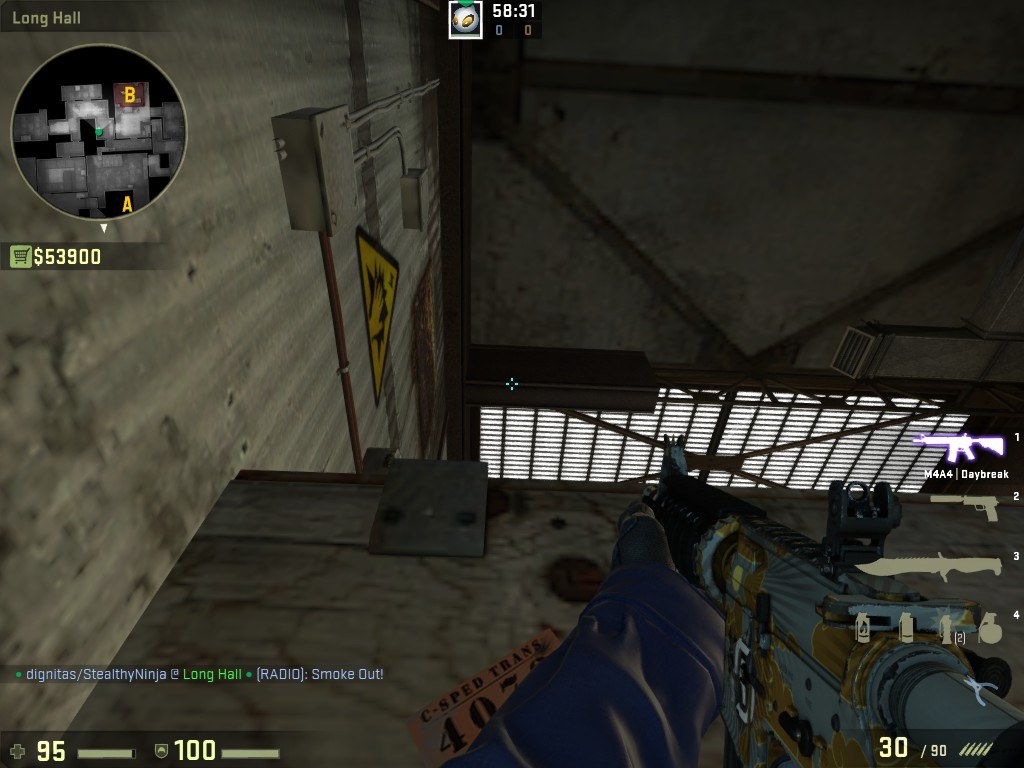
Headshot
The headshot position is a good one to play if you’re looking to be a bit safer and is especially useful if you’re not running a close vent player for the quick rotates. This gives you an advantage in any aim duel as the name implies the only way for you to get killed is via a headshot, while you are able to hit them anywhere. From here you have the opportunity to kill people if they try to cross to checkers or kill them if they run into the site, both good results. However, if you do lose mid control and the T side can enter checkers safely, you can run into some trouble as you are left with two angles to fight and a less defensible position. Unlike checkers, you aren’t necessarily just done here if they push into site, you have enough cover and distance to fall back and wait for your allies or do more damage safely. The first option and in a way the most dangerous is to fall back to tree room and mount a retake. If you chose to do this, you will have a few seconds without cover. This is made possible if the Ts smoke tree room. You can throw a smoke or flash of your own and use their own utility to begin an escape. The second and initially safer option is to fall back to site and fight from there. Let’s talk about that in more detail.
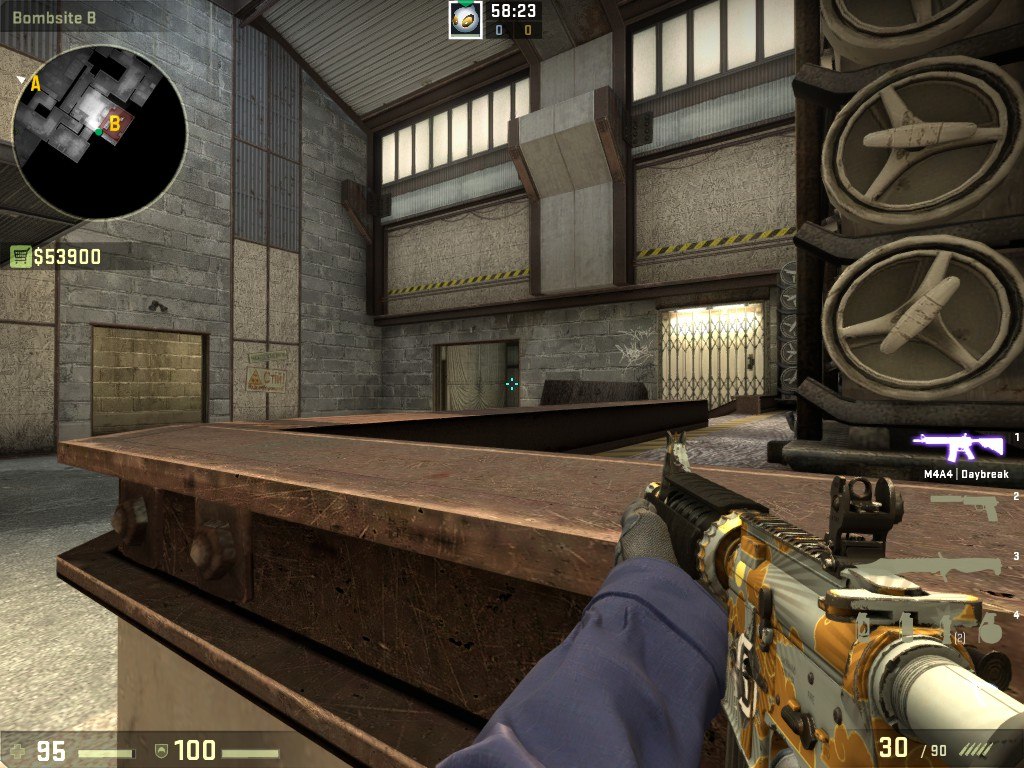
Site
On site, you have two sets of boxes to fight the opponent from and both have their merits. Let's start with the triple boxes seeing as we just discussed headshot. These are full cover and you have to angles to peek from a really solid position. You need to be very proactive here because if you let them push into site there is nowhere to run and take cover so peek both angles frequently to prevent yourself from being flanked. If you know they are pushing site, below is an effective pop flash as you can peek at any time without being flashed while the enemy will be blinded immensely.
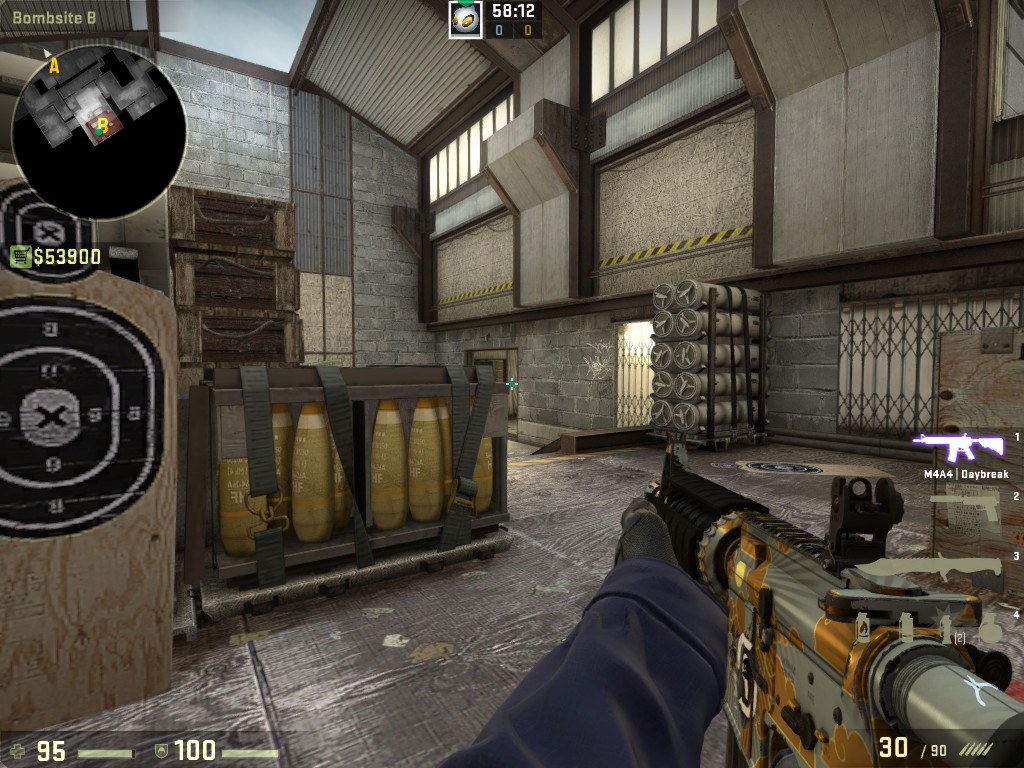
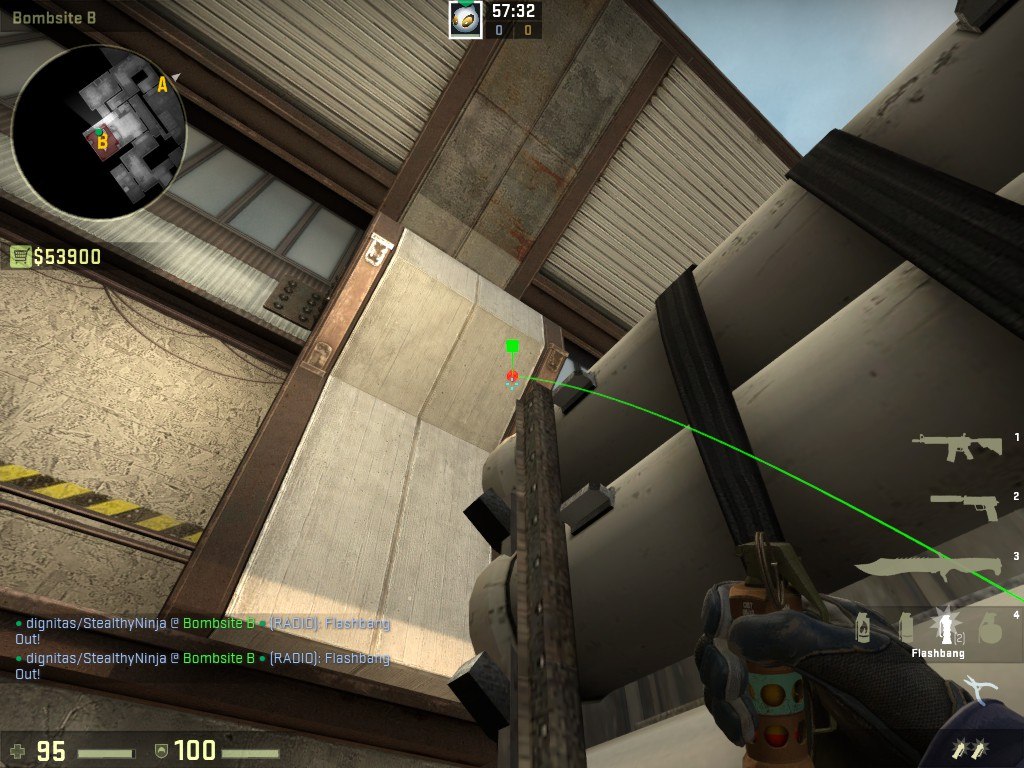
The right-hand boxes are very similar however the smaller box is able to be shot through so you’ll have less effective cover there. While I would argue that the triple boxes are better as they give you more options and more cover sometimes switching to a less valuable position tactically to throw your opponent off can be a fantastic trade. However, like triple boxes, once you’re here it’s down to fighting until they’re dead or you are, so be proactive and take as many fights as you can you’ll need to do damage so your team can retake the site.
Conclusion
Solo B on cache can be a great tactic in ranked matchmaking both with teammates you do and don’t know. If you’re put in a position where you don’t have to rely on your team to cover you it is possible to do the most damage in a round. If you can consistently force the game into favourable retake positions for your side you’re sure to come out on top in the end even if you don’t really trust your team to be reliable.
Like our content? Support us by getting our merchandise in our shop